
Step by Step: Healthier Sourdough Bread
This is my go-to sourdough recipe: it uses a blend of white bread flour, whole wheat, and buckwheat, but feel free to adapt it to your taste using other flours (spelt and rye both work beautifully too). You’ll need an active sourdough starter and a little bit of patience—but trust me, it’s worth it.
This makes one small to medium loaf (~680–720g baked weight). Follow the timeline and you’ll have fresh bread ready by breakfast the next day.

Ingredients
100g active sourdough starter
280g water (room temperature)
150g white bread flour
200g whole wheat flour
50g buckwheat flour (or substitute rye or spelt)
8g salt
Sesame, flax, chia seeds ( optional)
Brown rice flour ( for dusting surface, optional)
Equipment
Mixing bowls
A kitchen scale
Banneton (proofing basket) or bowl with a towel
Parchment paper
Dutch oven (with lid)
Lame or sharp knife for scoring
Day One
🕒Note: These times are suggested to help you plan your day, but they don’t have to be followed exactly. If you're an hour early or late, it’s usually no problem. Sourdough is forgiving—trust your dough more than the clock.
7:00 AM — Refresh Your Starter
Feed 50 g of starter with 50 g flour and 50 g water. Always feed your starter with the flour you used to make it. So, stick to whole grain flour if you made the starter using that starter. Leave it at room temperature until it becomes bubbly and active (about 6–8 hours; it should double in size).
2:30 PM — Mix Your Dough
It's ready to use once your starter passes the float test (a spoonful floats in water).
In a large bowl, mix:
100g active starter
280g water
Stir well, then add:
150g white bread flour
200g whole wheat flour
50g buckwheat flour
Mix only until no dry bits remain. Cover the bowl with plastic wrap or a shower cap and let rest for 45–60 minutes (this is the autolyse).
3:30 PM — Slap and Fold
Transfer your dough to a work surface. Add 8g salt and a splash of water. Mix well.
Use the slap and fold method (lift and slap the dough against the counter, then fold it over) to build strength. Do this for 10 minutes. Cover and let rest for 20 minutes.
4:00 PM — Lamination
Wet your surface lightly and stretch the dough into a rectangle. If you wish, you can sprinkle it with seeds. I love to add flaxseed meal/ chia/ sesame. It should be elastic and smooth.
Fold it like a letter:
Fold the left and right sides inward, then fold the top and bottom.
Place in a clean glass or plastic bowl. Cover and rest for 30 minutes.
4:30 PM to 6:00 PM — Coil Folds
Perform 2–3 coil folds over 1.5 to 2 hours. Space each fold by 30–60 minutes:
Gently lift the dough from the middle, letting it coil under itself.
Rotate the dish and repeat from the other side.
Cover between folds.
6:00 PM — Bulk Fermentation
Let the dough rest untouched for 1.5 to 2 hours.
8:00 PM — Shape and Cold Proof
Dust your proofing basket and surface generously with flour. I like to use brown rice flour.
Shape the dough on a lightly floured surface:
Stretch the sides slightly and fold inward along length.
Roll the dough toward you to build surface tension.
Form a tight ball and place it into the basket seam-side up.
Pinch the seam if needed.
Cover with a towel or leave uncovered and place in the fridge overnight for 10–12 hours.

The Next Morning
6:00 AM — Preheat Your Oven
Place your Dutch oven inside and preheat to 500°F (260°C) for 30–60 minutes.
6:30 AM — Score and Bake
Once the oven and Dutch oven are preheated and ready, remove your dough from the fridge. Place parchment paper on top of the basket and flip the dough onto your counter.
Dust off excess flour and score the top with a lame.
Lift edges of parchment paper and transfer the dough into the hot Dutch oven.
Bake covered at 500°F for 20 minutes.
Then remove the lid, reduce heat to 450°F (232°C), and bake for another 18 minutes until the crust is deep golden brown.
Turn off the oven, crack the door, and leave the loaf inside for another 20 minutes to let the crust set.

his isn’t just bread. It’s a little ritual that connects you to your food, your ingredients, and your kitchen. And it tastes a bit better every time you make it.
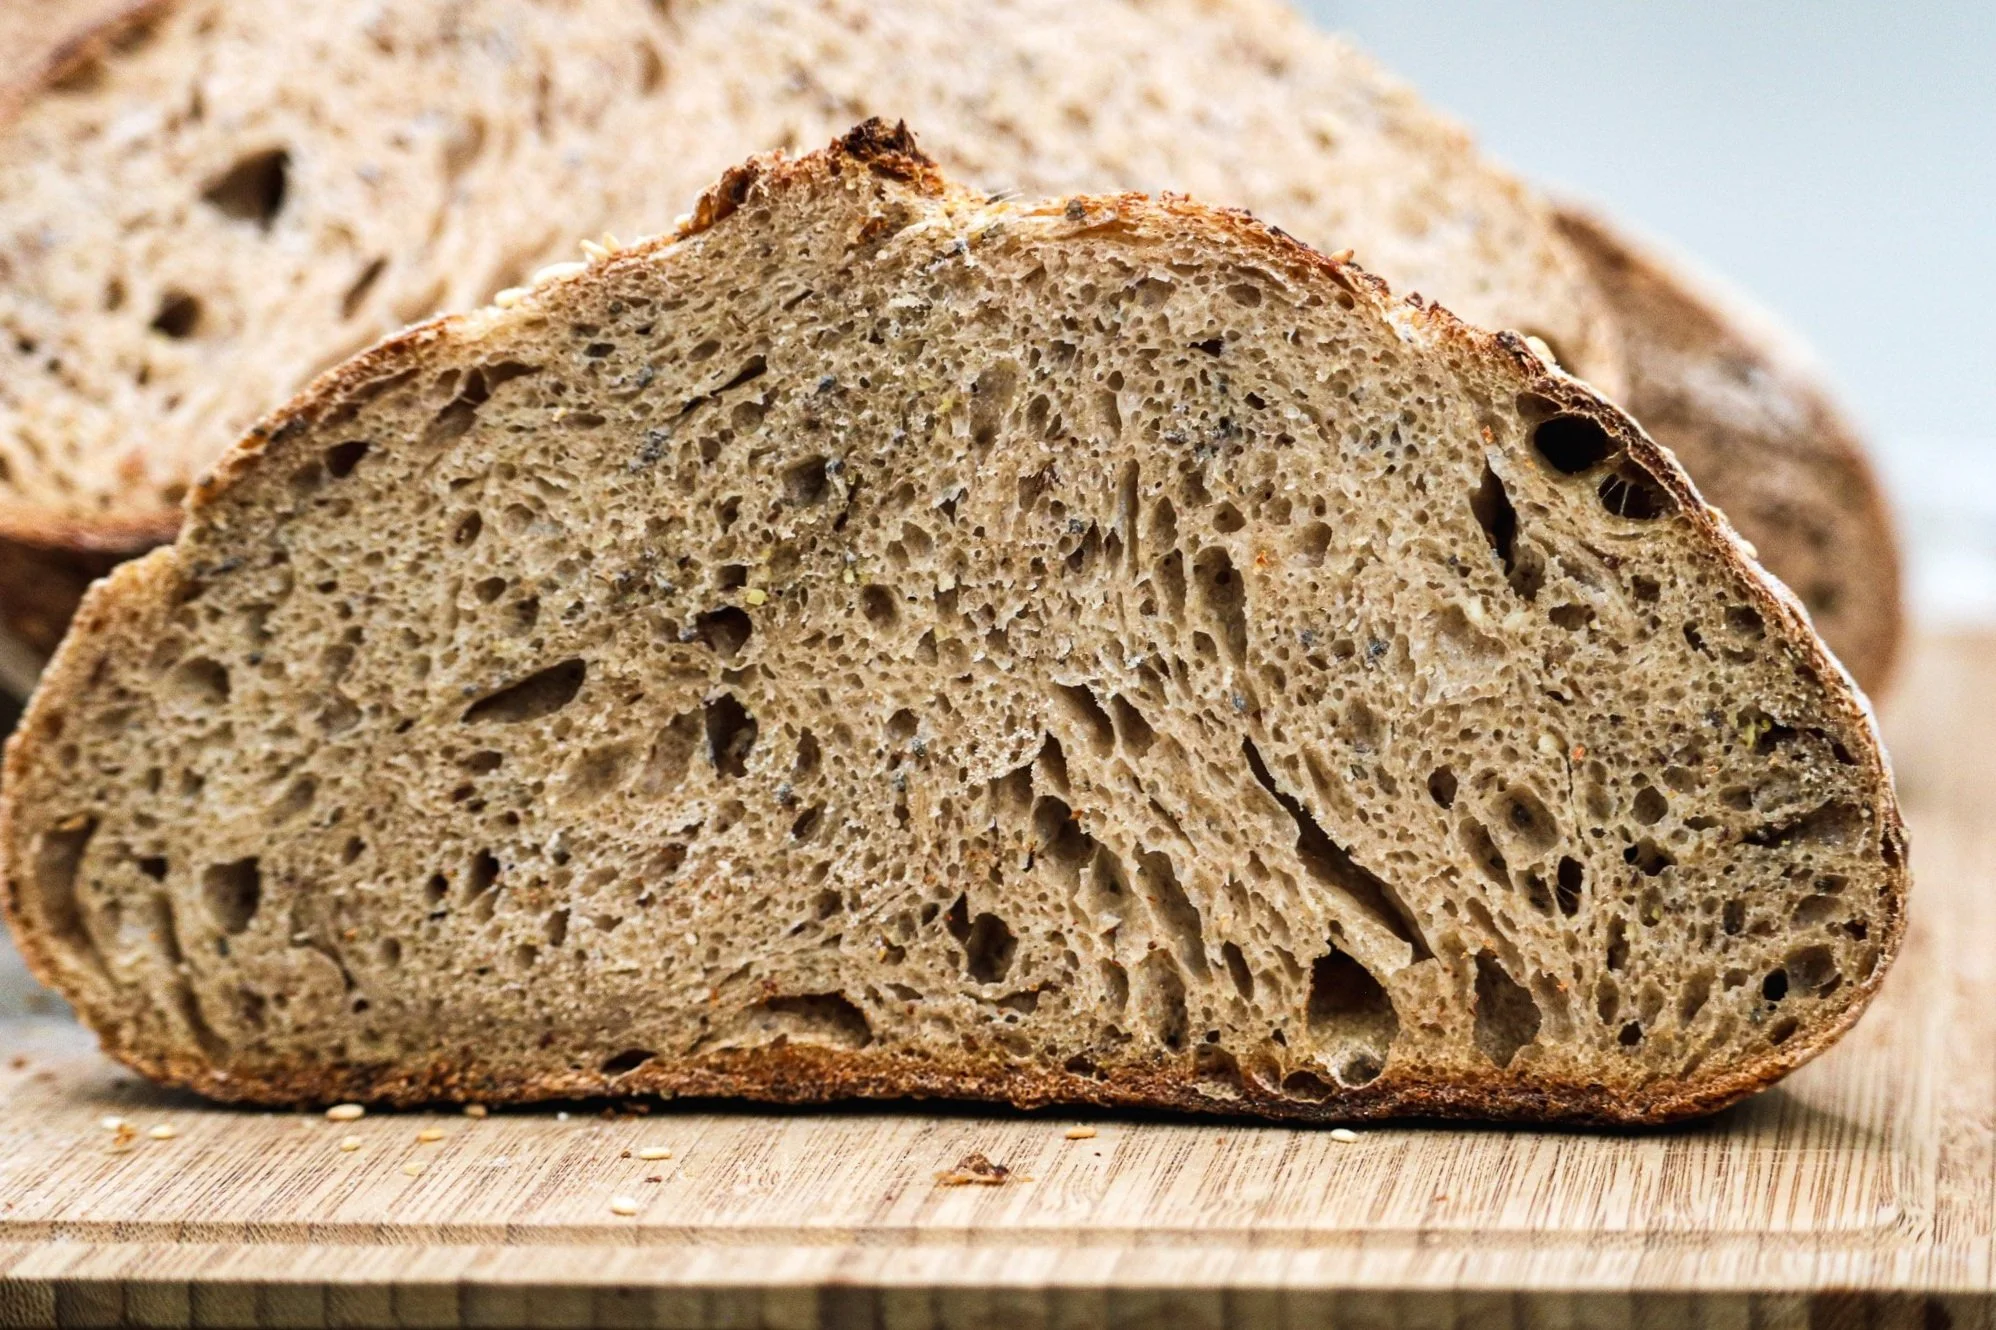
You Made Sourdough!
Let the bread cool for at least an hour before slicing (if you can wait). The crumb should be airy and moist, and the crust crackly and caramelized.
Want a visual walkthrough? Click on the video below:
Tips for Success
Don’t skip the overnight fridge proof — it improves flavor and makes scoring easier.
If your dough feels sticky, wet your hands instead of adding flour.
Adjust flour to your taste. Want more nuttiness? Increase whole wheat or buckwheat. Lighter loaf? Use more white flour.
Practice makes perfect. Every bake teaches you something new.
Still have questions?
Send me DM on Instagram 💕 Click here