
Travel Snacks
Airport food is either sad or $18. So I started making my own snacks before flights — and at this point it's become its own little ritual. These are the five I come back to every time. All of them are plant-based, high in protein, and actually survive a travel day without turning into crumbs or requiring refrigeration.
Time to read: 10 mins | Time to make: varies | Yields: about 4 servings

Salted Chocolate Brownie Balls
Rich, fudgy, and genuinely good. These come together in a blender from whole-food ingredients and taste more like a dessert than a snack. The protein powder is seamless — you can't taste it. The flaky salt at the end is not optional.

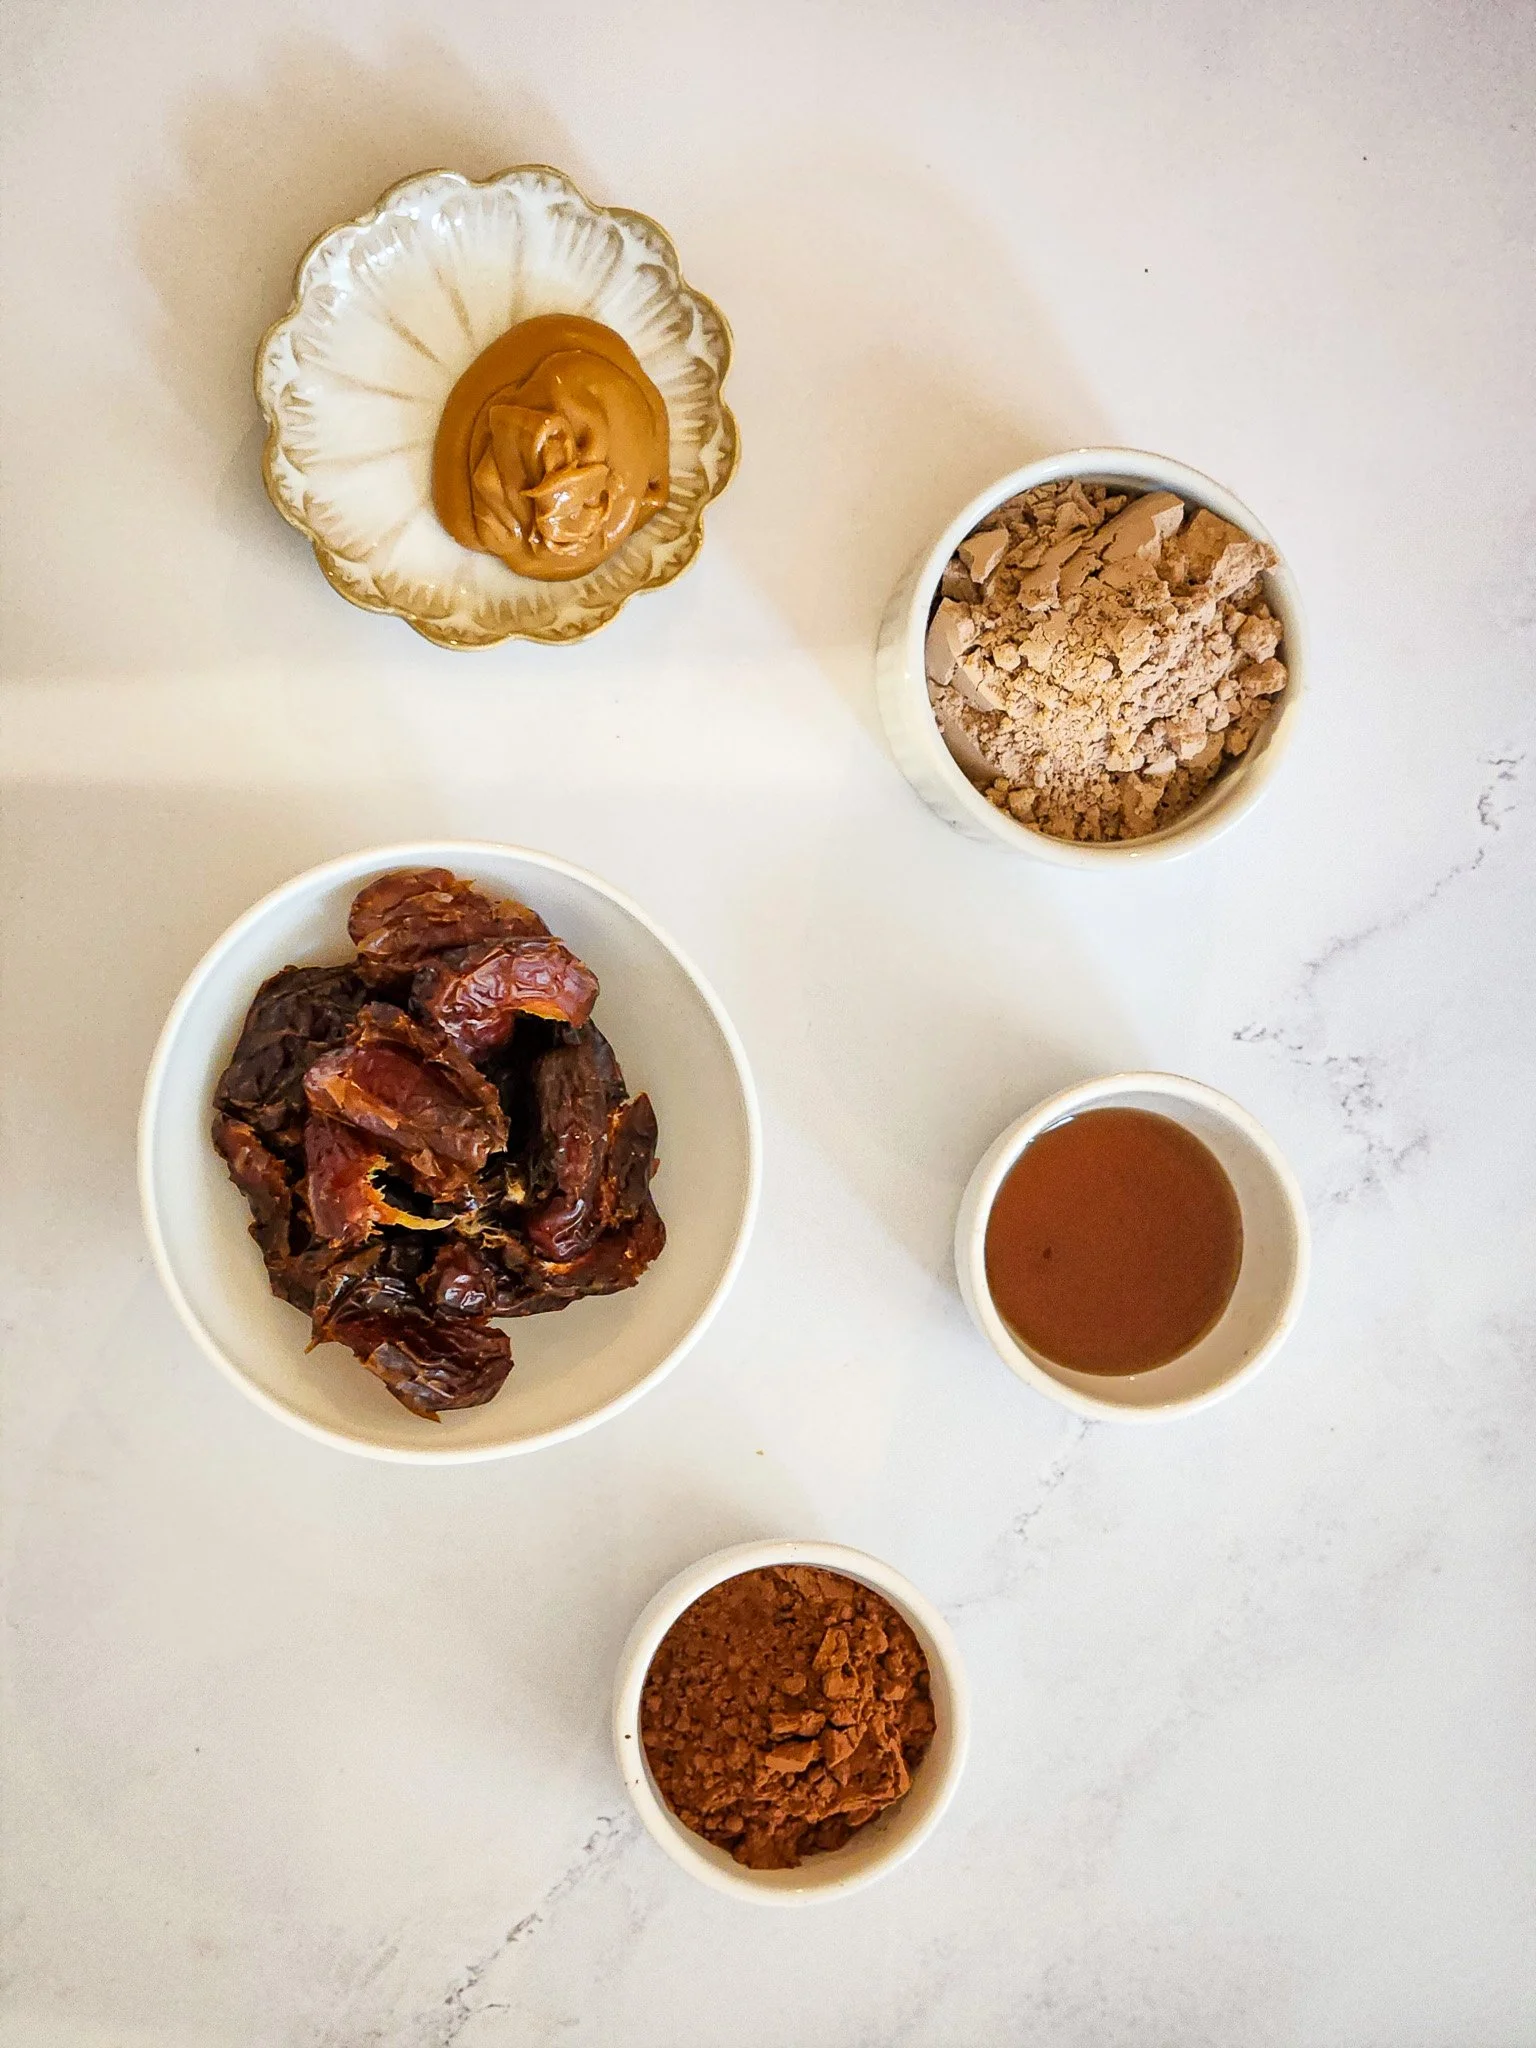
Ingredients
1½ cups (about 240g) pitted Medjool dates
3 tbsp cacao powder
5 tbsp plant-based chocolate protein powder
3–4 tbsp maple syrup
5 tbsp nut butter (almond or peanut)
Generous pinch of salt
3.5 oz (100g) dark chocolate
Flaky sea salt, to finish
Method
If dates are dry, soak in warm water for 10 minutes and drain. Blend into a sticky paste.
Add cacao powder, protein powder, maple syrup, nut butter, and salt. Blend until thick and smooth. If the mixture is too stiff, add a splash of plant milk.
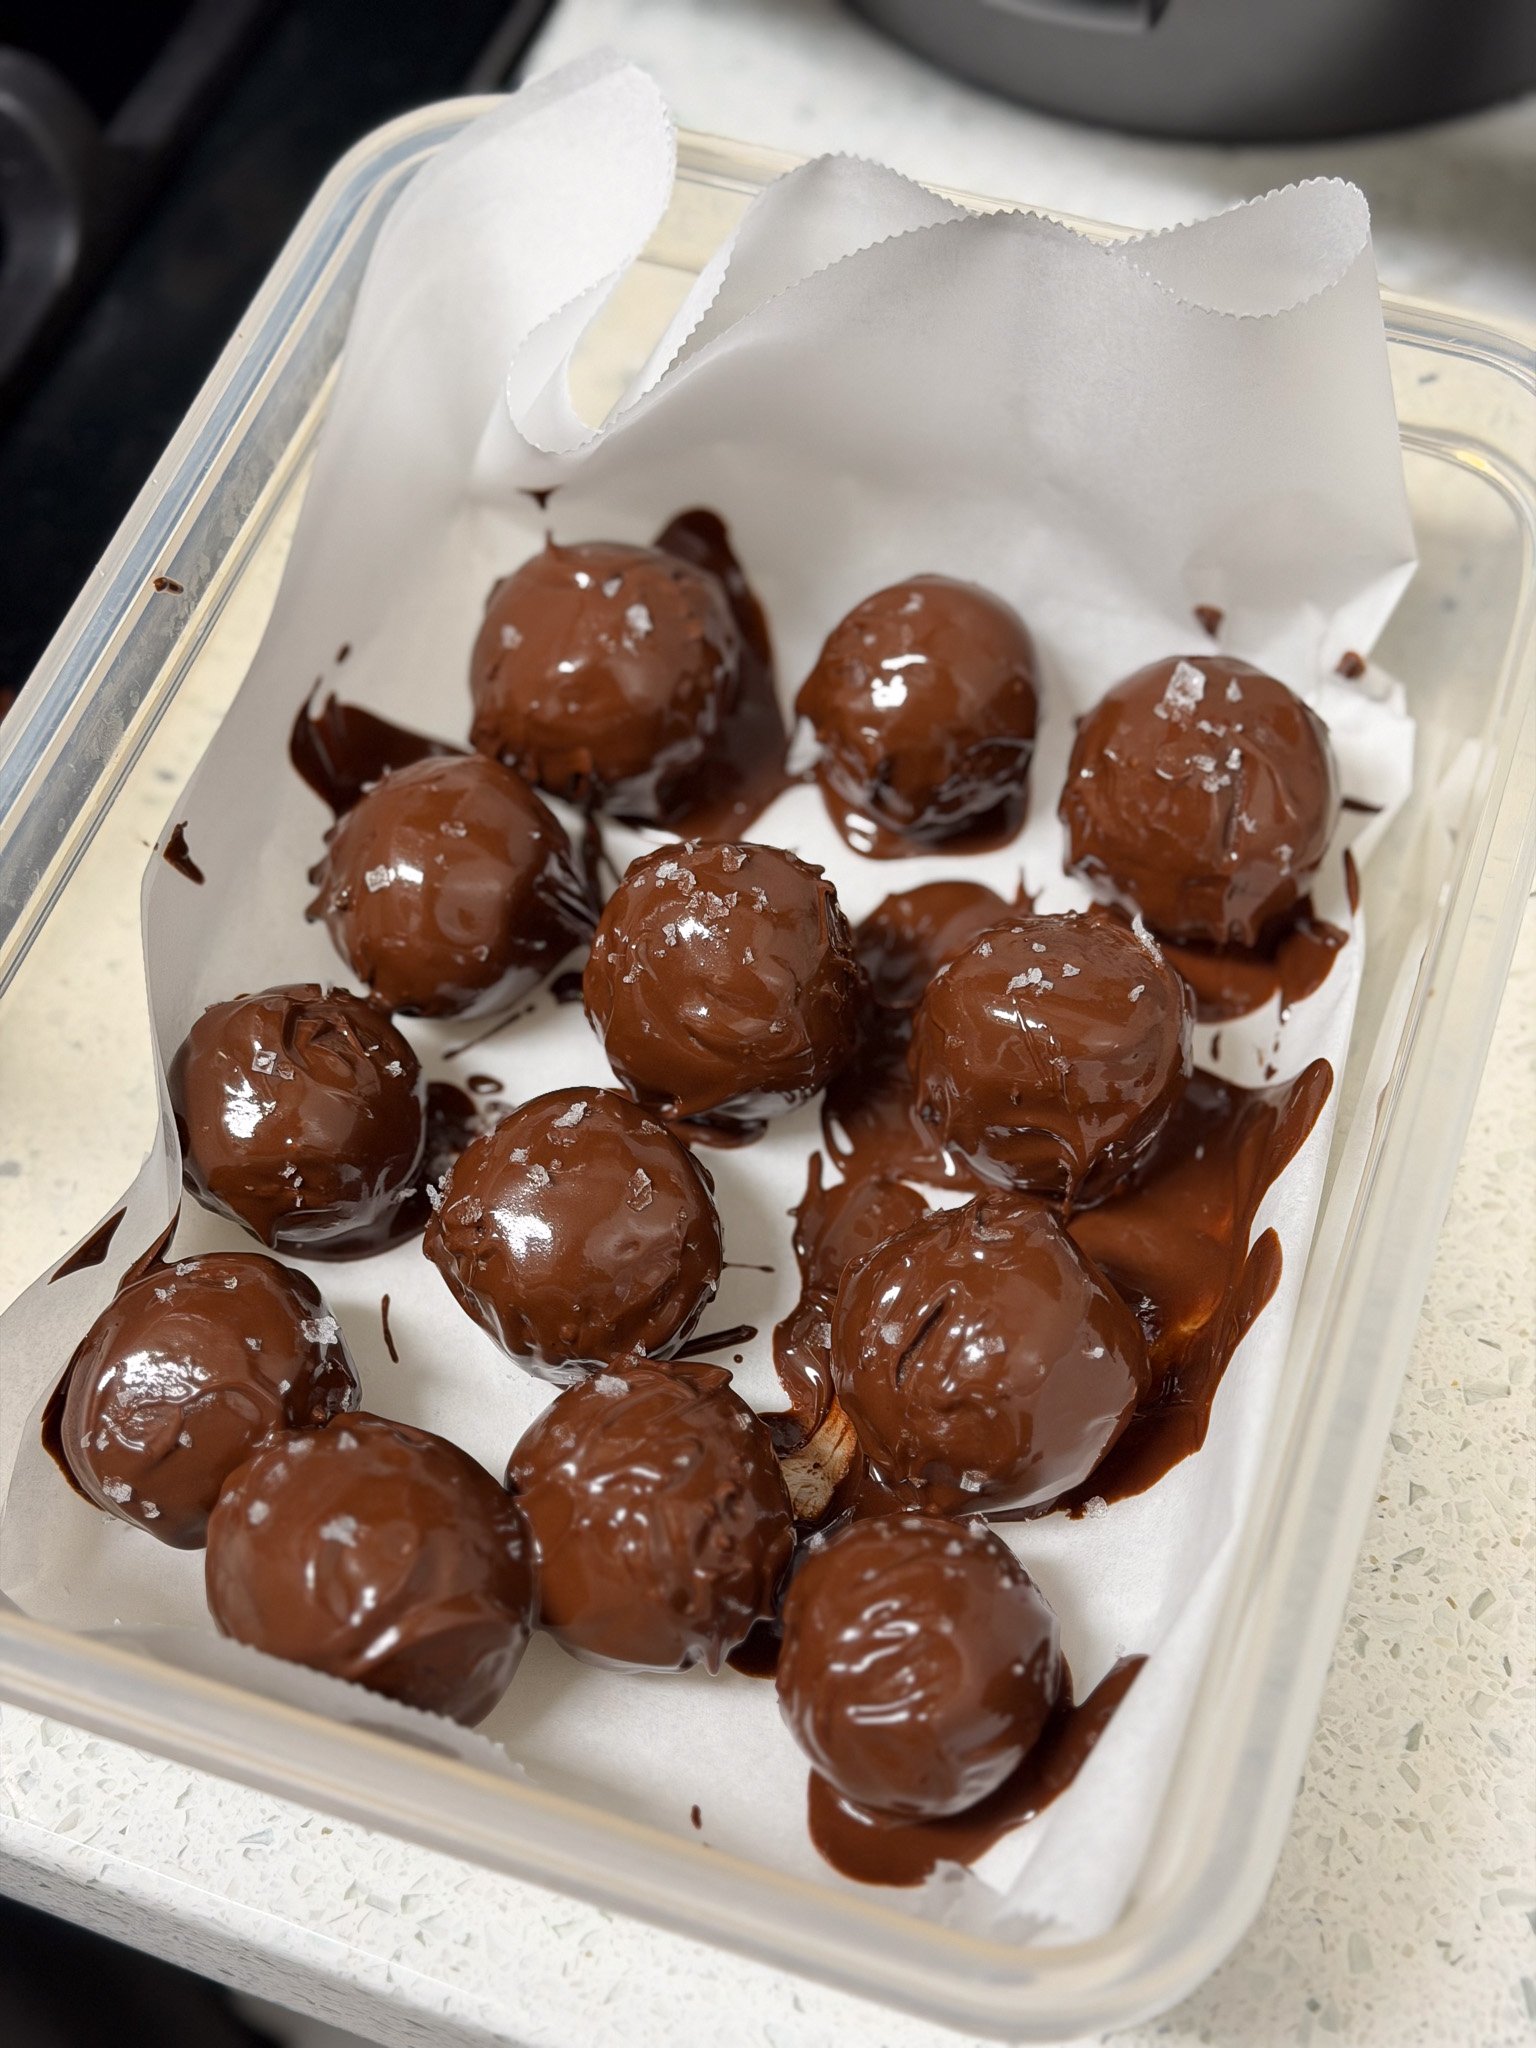
Roll into small balls, about 1 tablespoon each. Place on a lined tray.
Melt chocolate over a double boiler or in the microwave in 30-second intervals. Coat or drizzle over the balls. Sprinkle with flaky salt.
Refrigerate for at least 30 minutes until set. Store in an airtight container.
Tips & Storage
Room temperature: 4–5 days in an airtight container. Fridge: up to 2 weeks.
Travel note: no refrigeration needed for a full travel day. Pack in a small container so they don't get squashed.
Medjool dates work best — they're softer and blend more easily. If using deglet dates, soak longer.
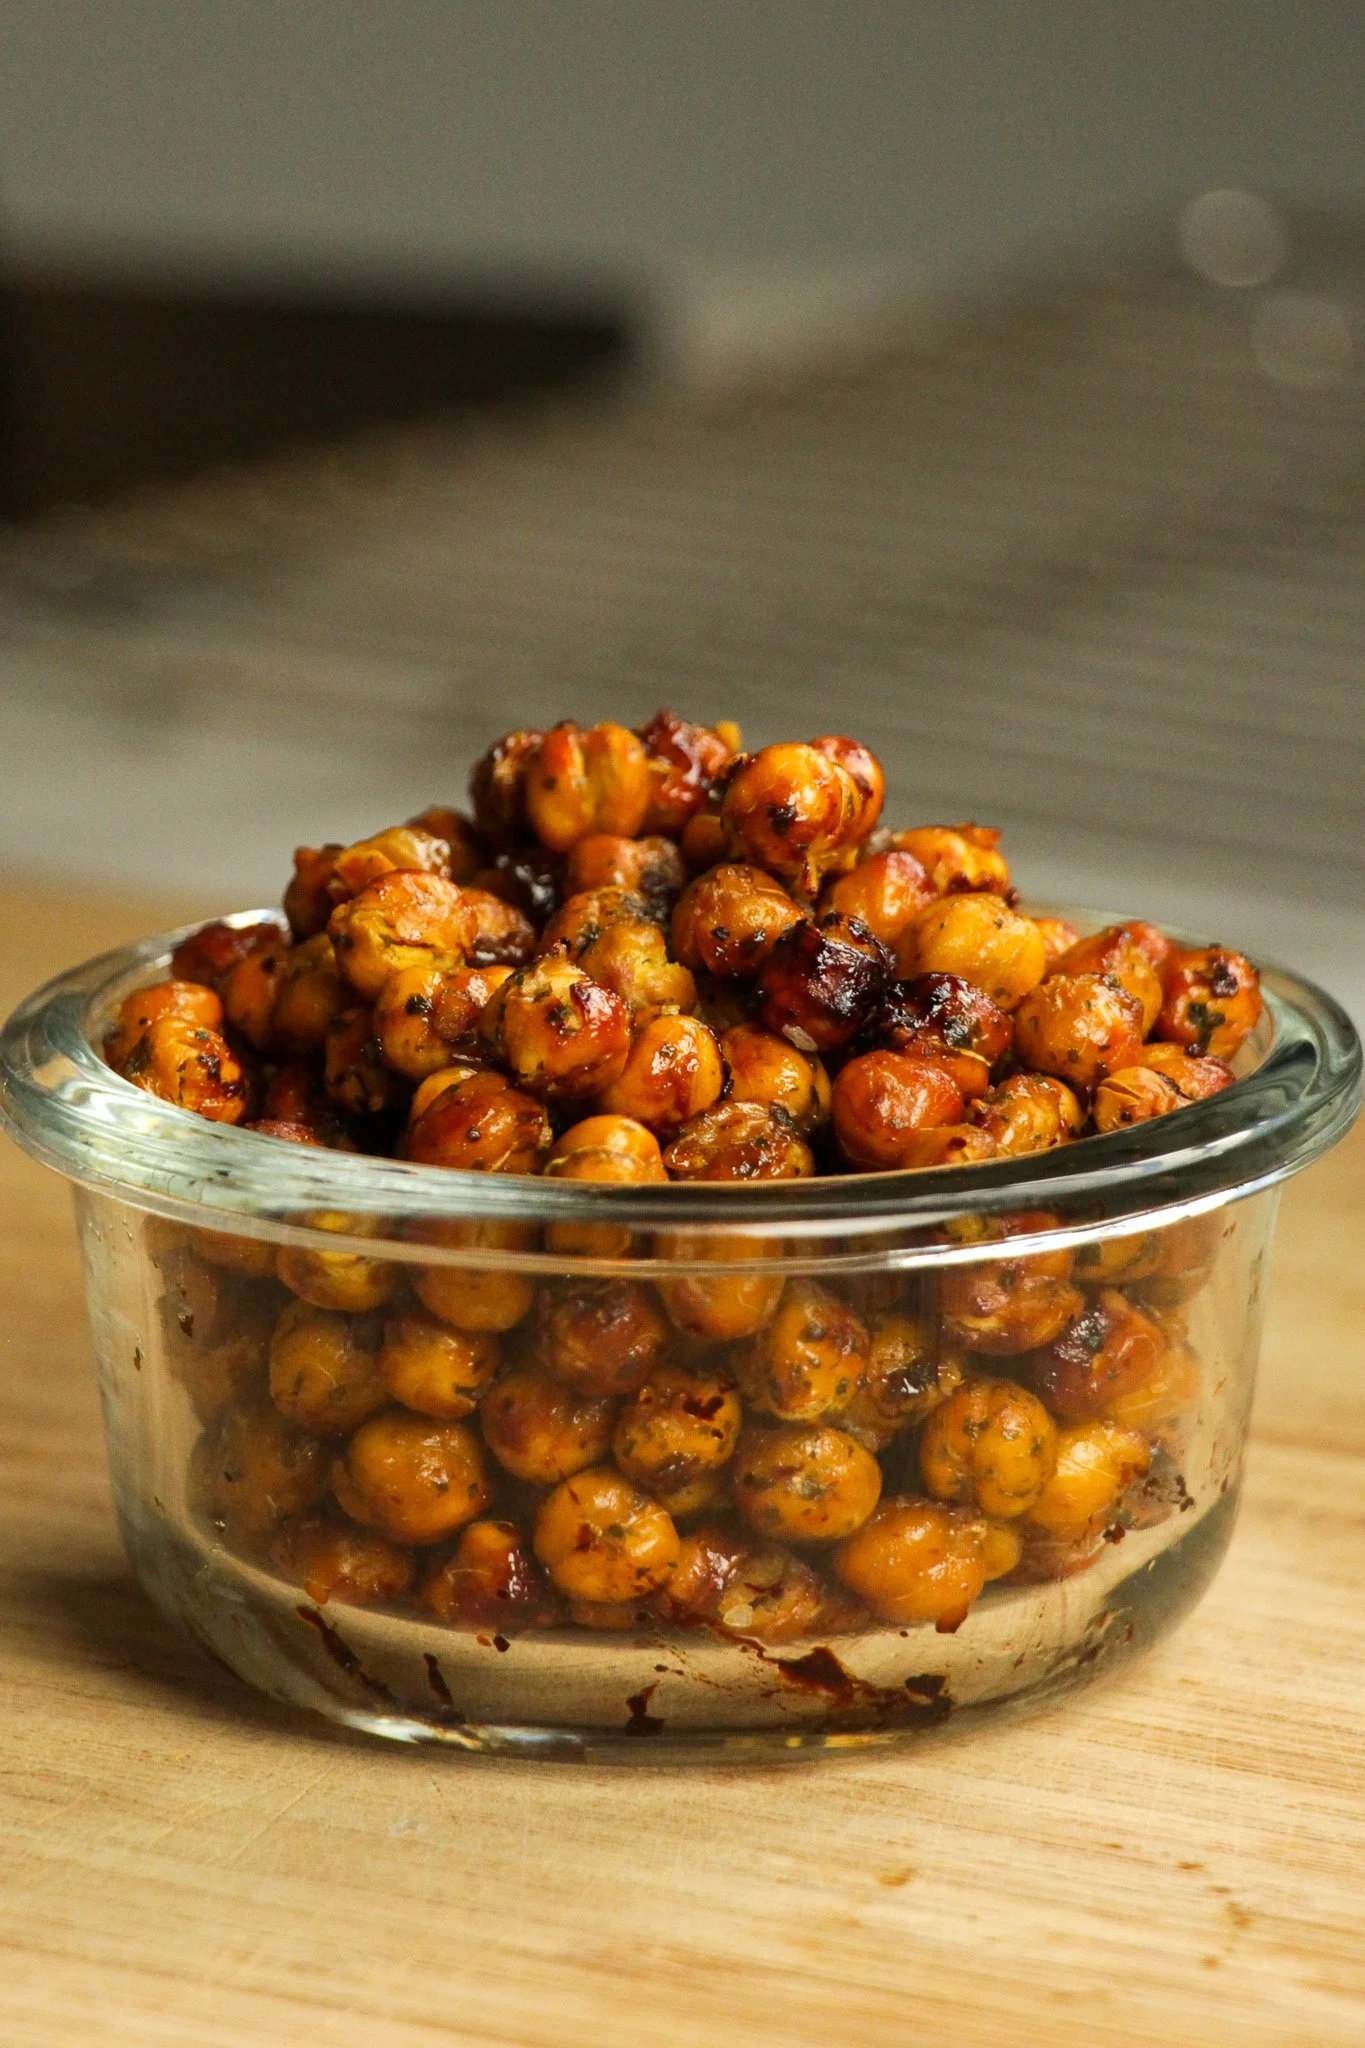
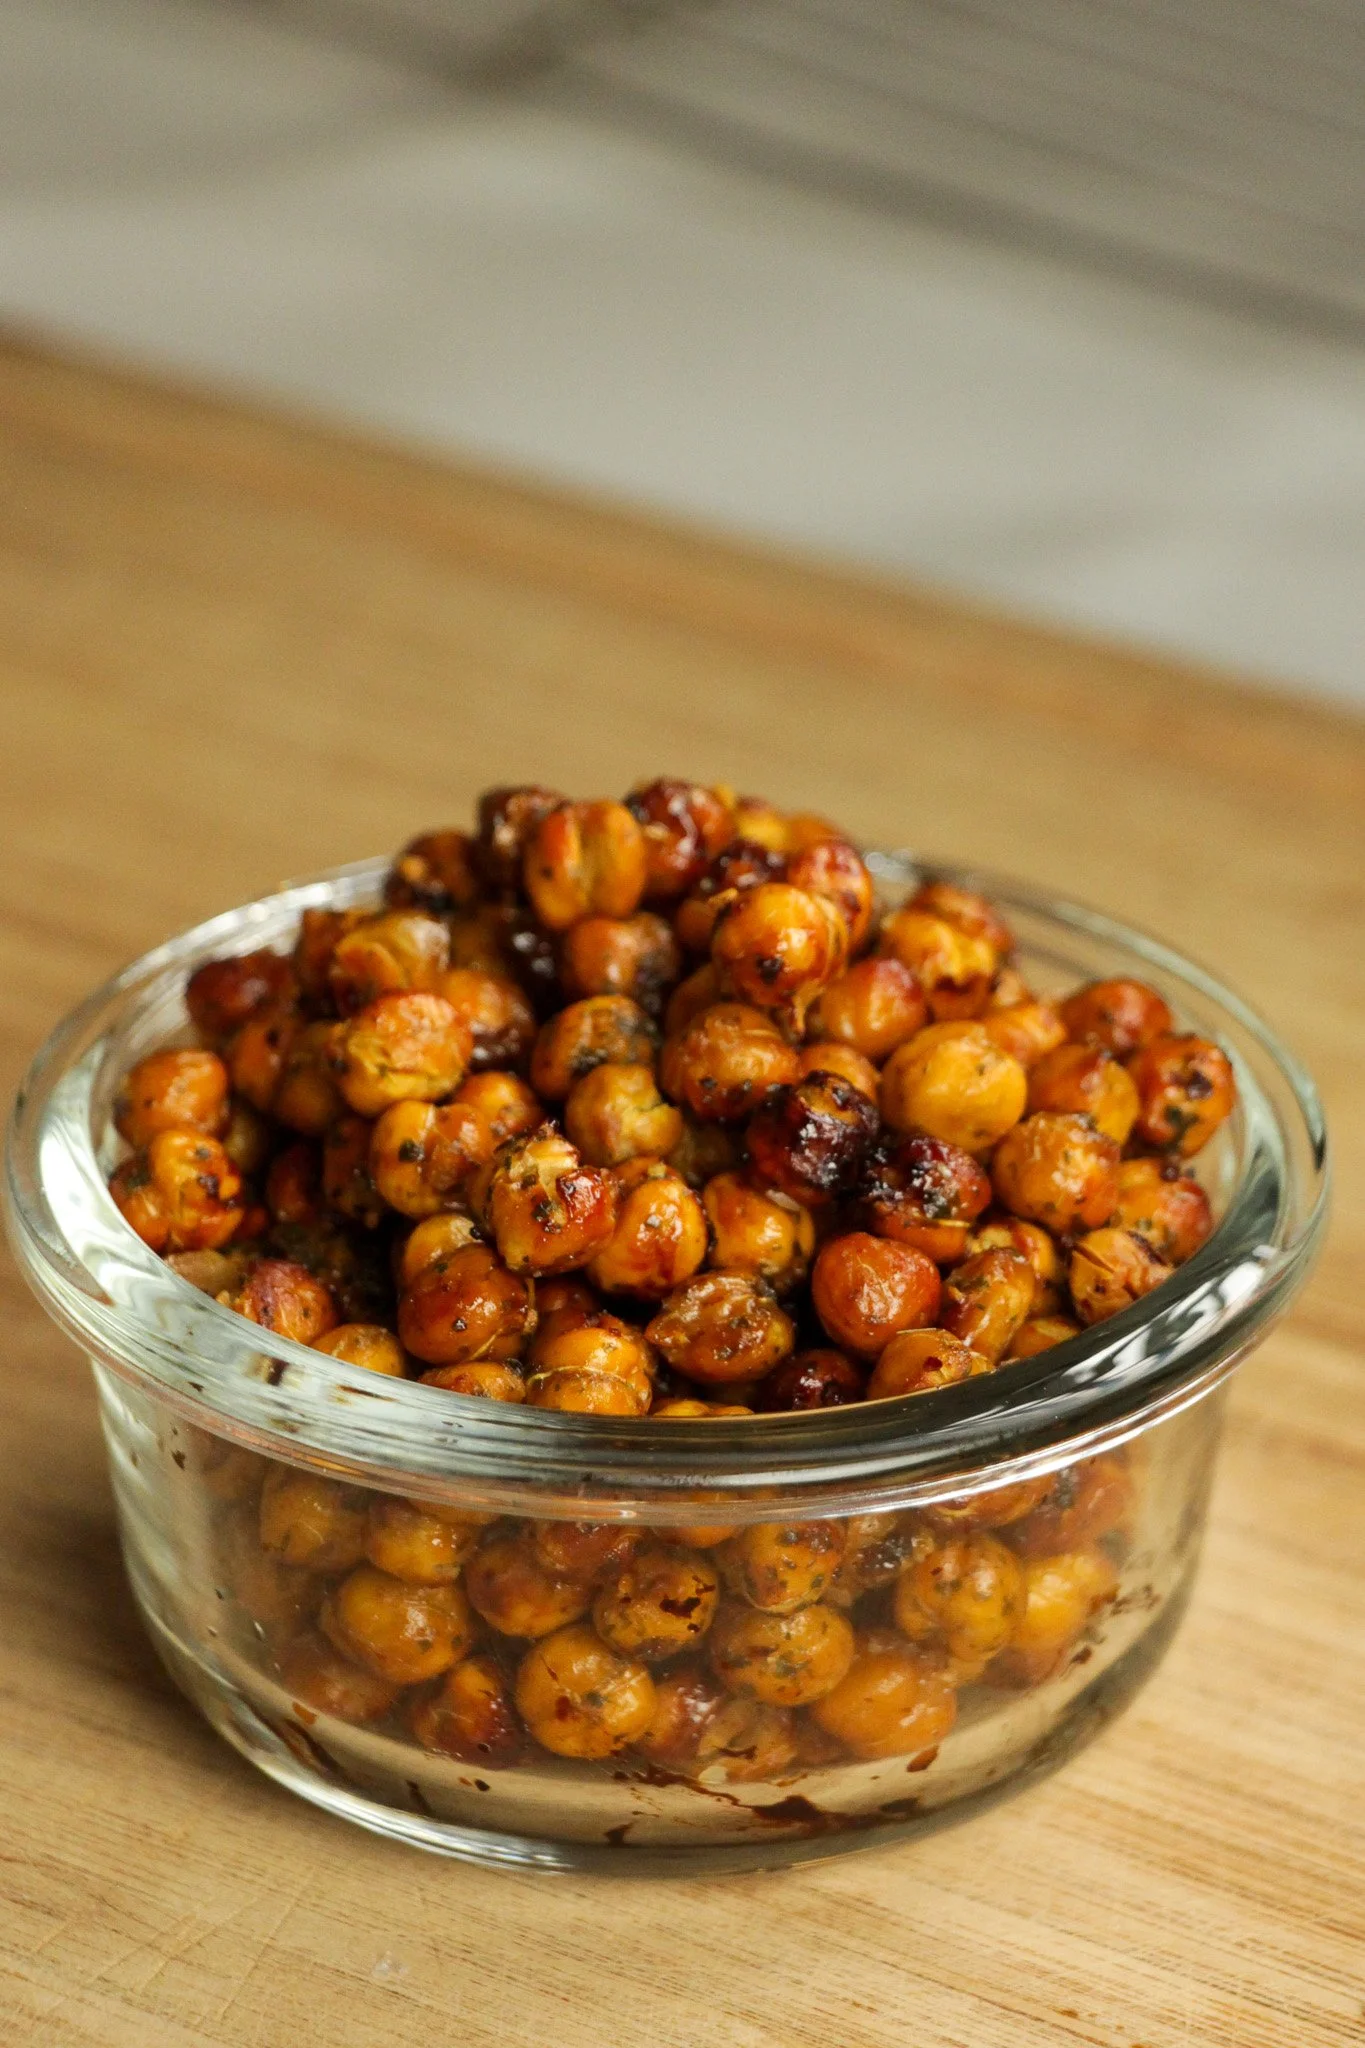
Crunchy Spiced Chickpeas
The biggest mistake people make with roasted chickpeas is skipping the double-air-fry. One round gets them dry. The second round gets them crunchy. The residual heat step at the end is what keeps them crunchy.
Ingredients
1 can (15 oz) chickpeas, drained and rinsed
1 tsp avocado oil
1 tsp tamari
½ tsp smoked paprika
¼ tsp garlic powder
Pinch of salt
Method
Pat chickpeas very dry with paper towels. The drier they are, the crunchier they get.
Dry roast in air fryer at 375°F (190°C) for 8 minutes with no oil.
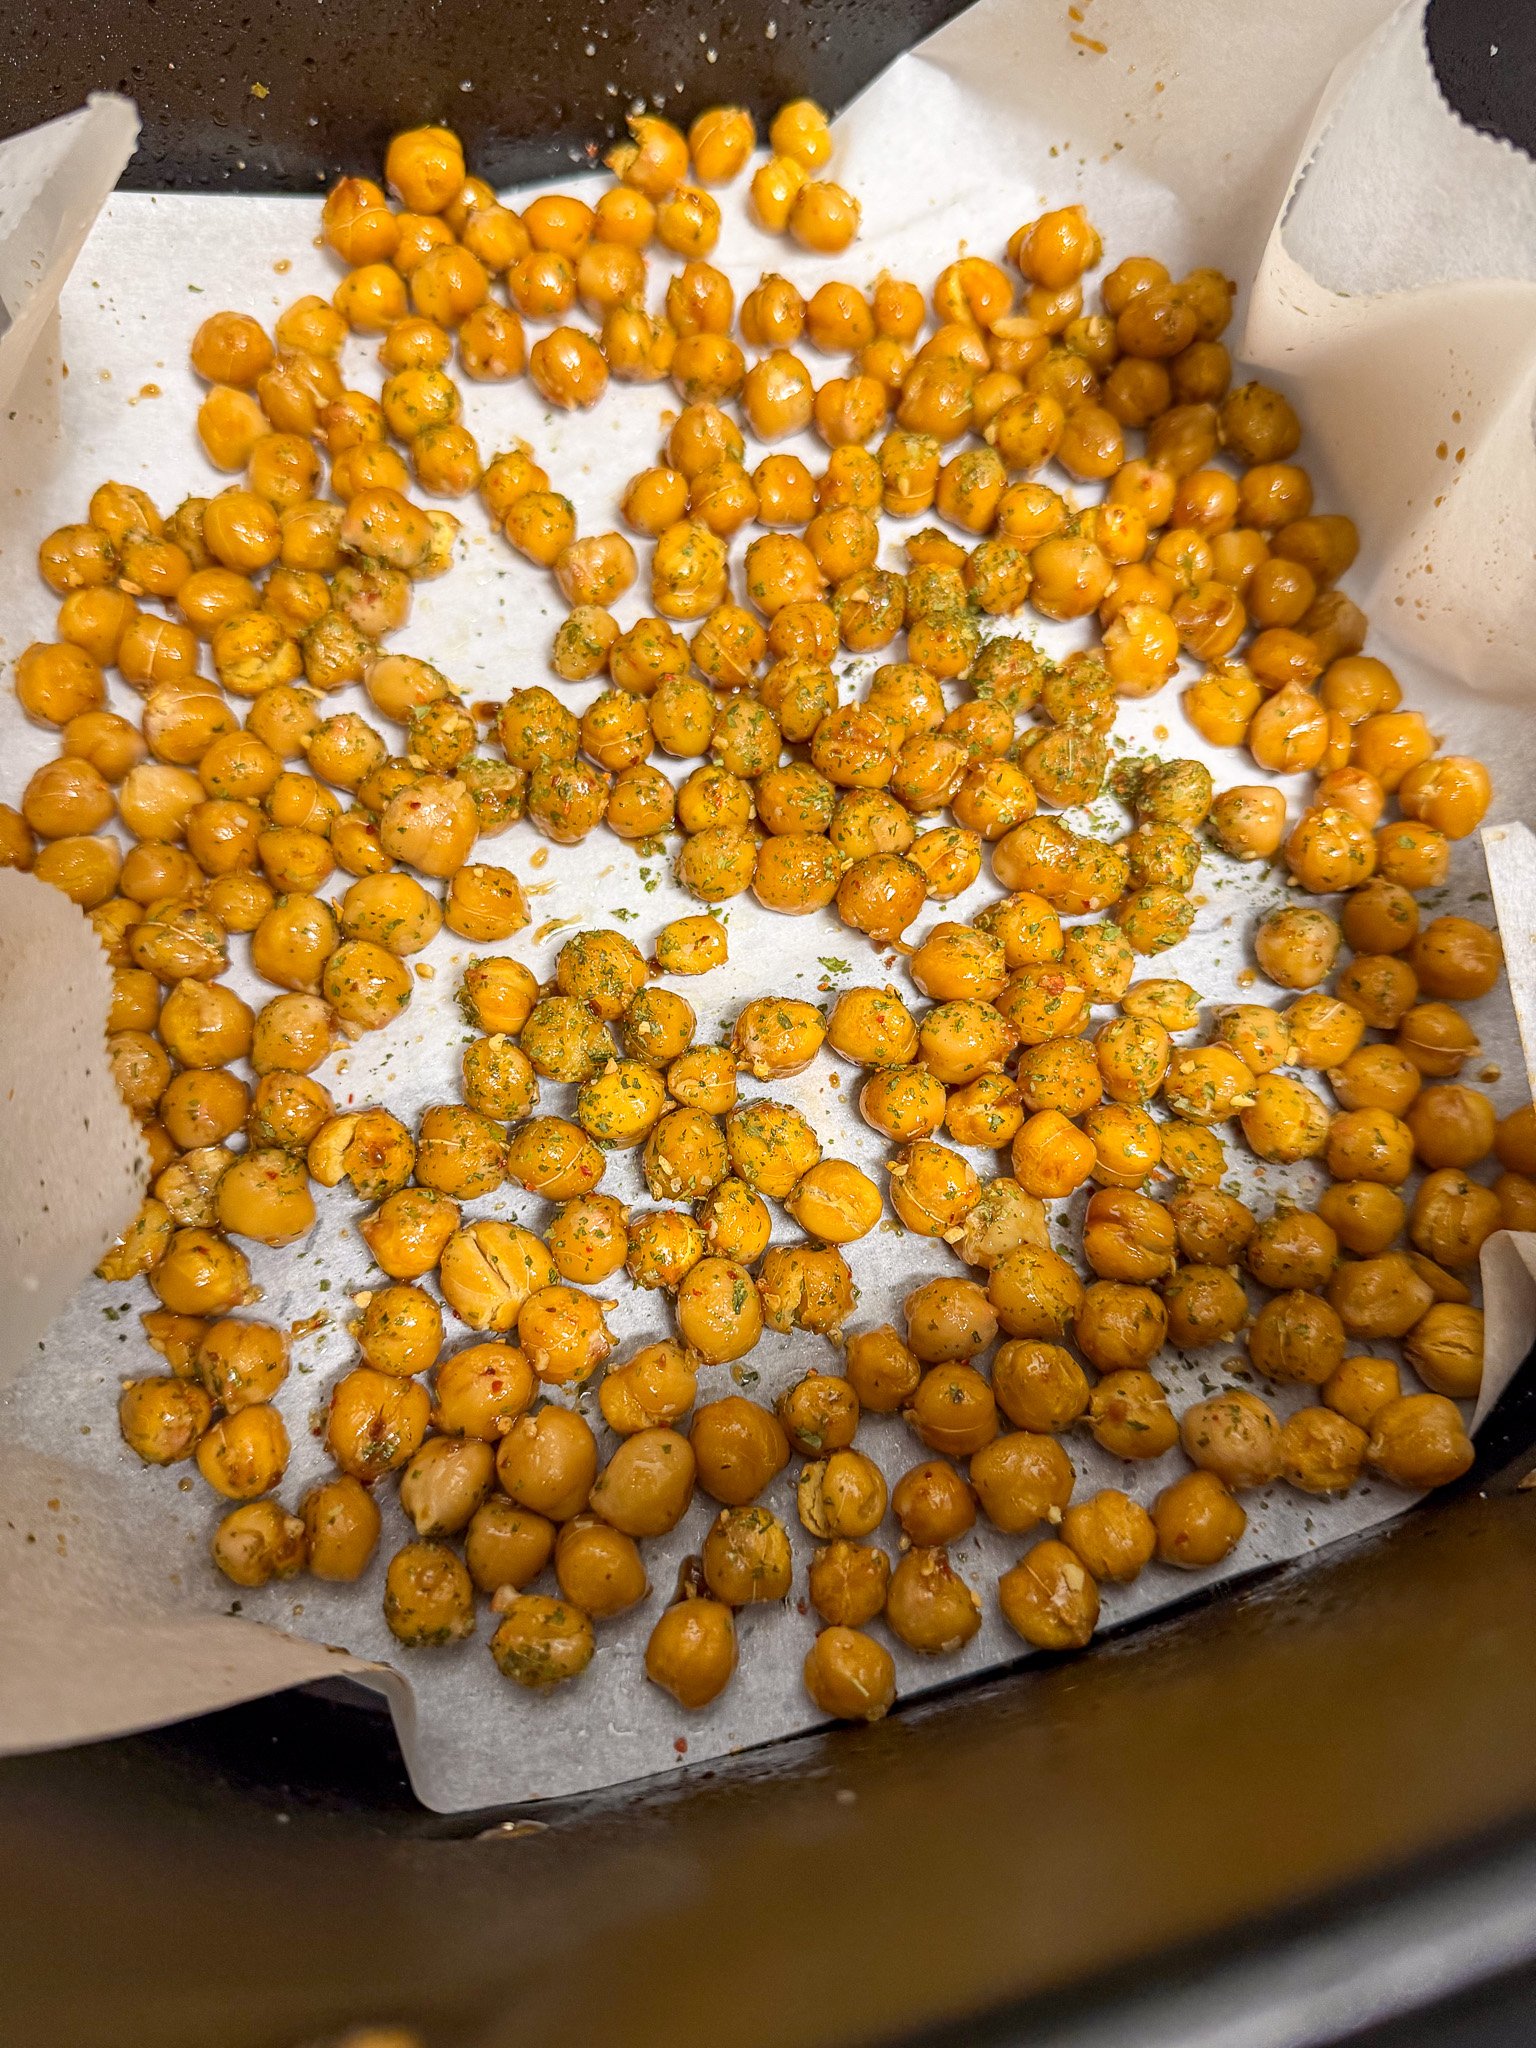
Remove from air fryer. Toss with avocado oil, tamari, smoked paprika, garlic powder, and salt until evenly coated.
Return to air fryer. Cook another 8–12 minutes, shaking every 4 minutes.
Turn off the air fryer and leave the chickpeas inside for 5 more minutes. This residual heat dries them out further.
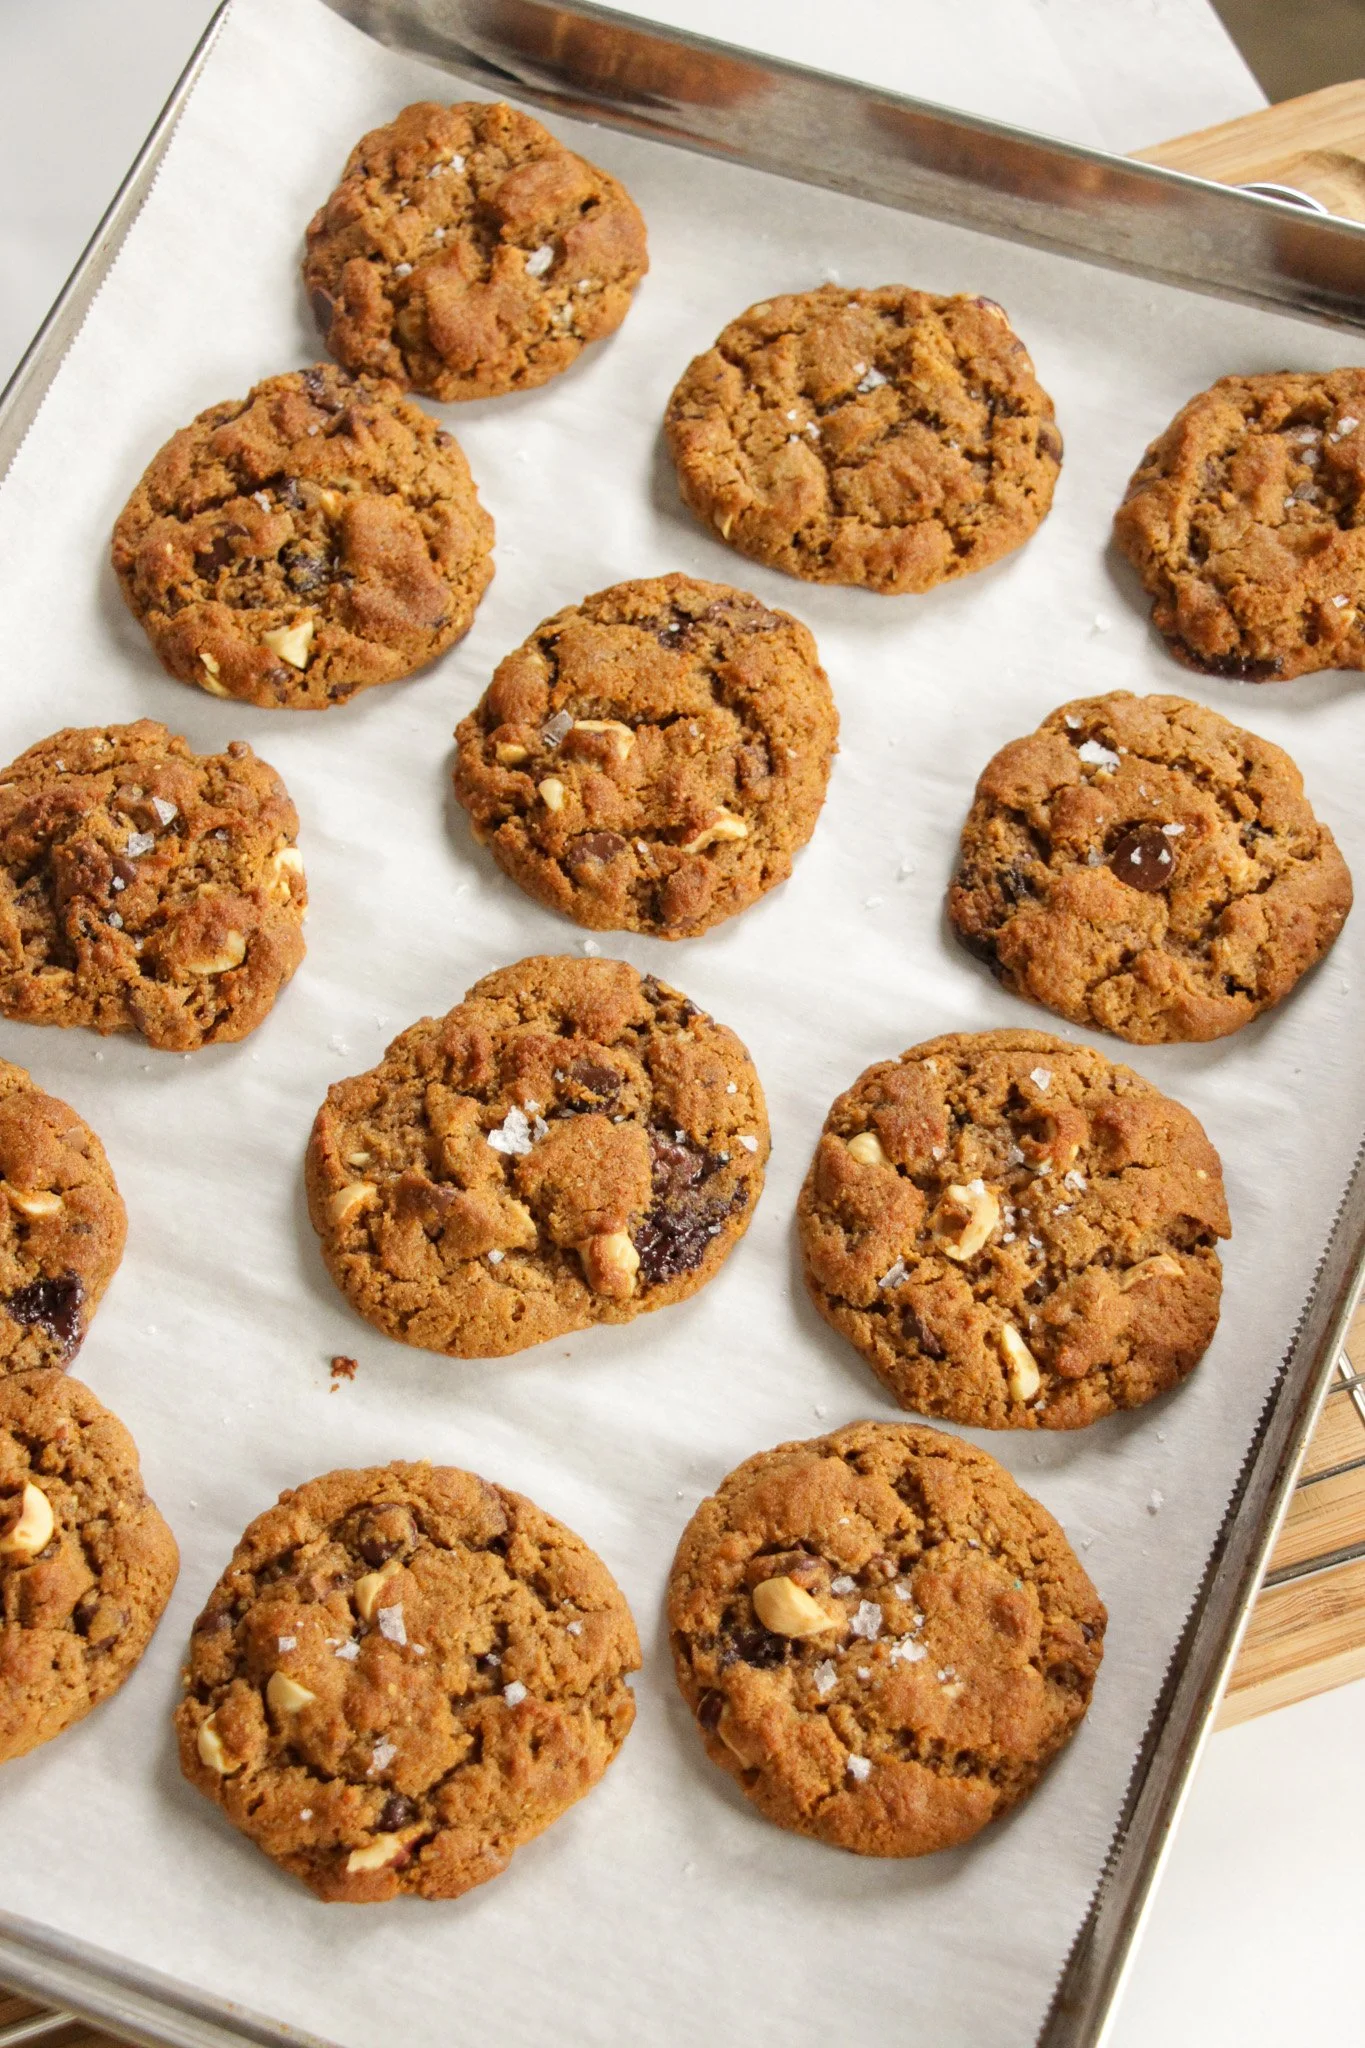
Vegan Chocolate Hazelnut Cookies
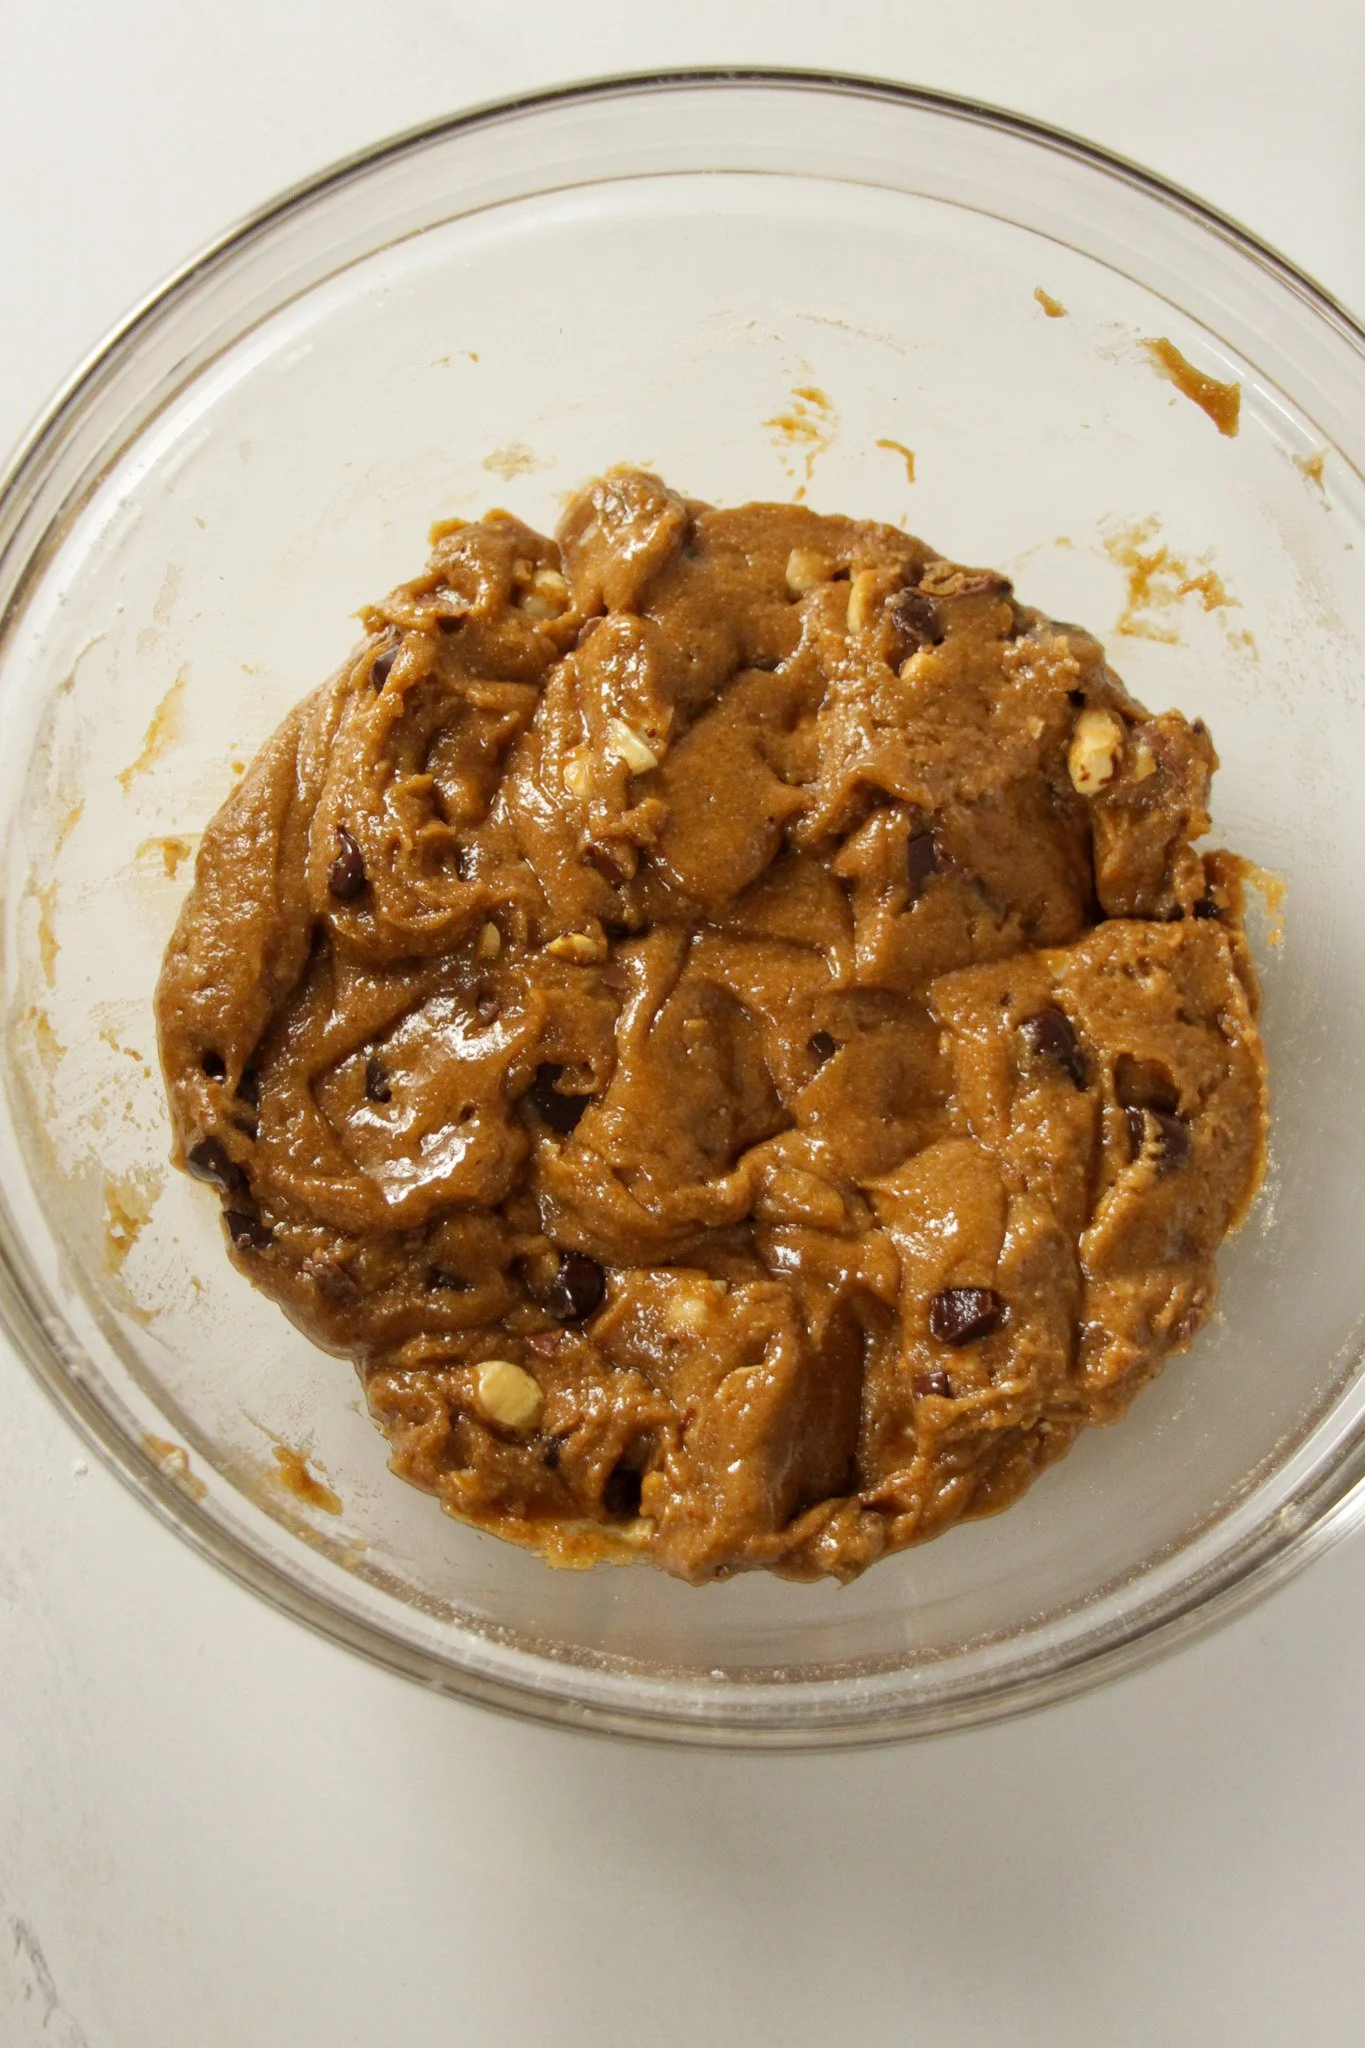
Soft, rich cookies with melted chocolate chunks and crushed hazelnuts. Applesauce replaces eggs and keeps them moist. Chilling the dough is not a suggestion — it makes a real difference in texture. The flaky salt at the end is the move.
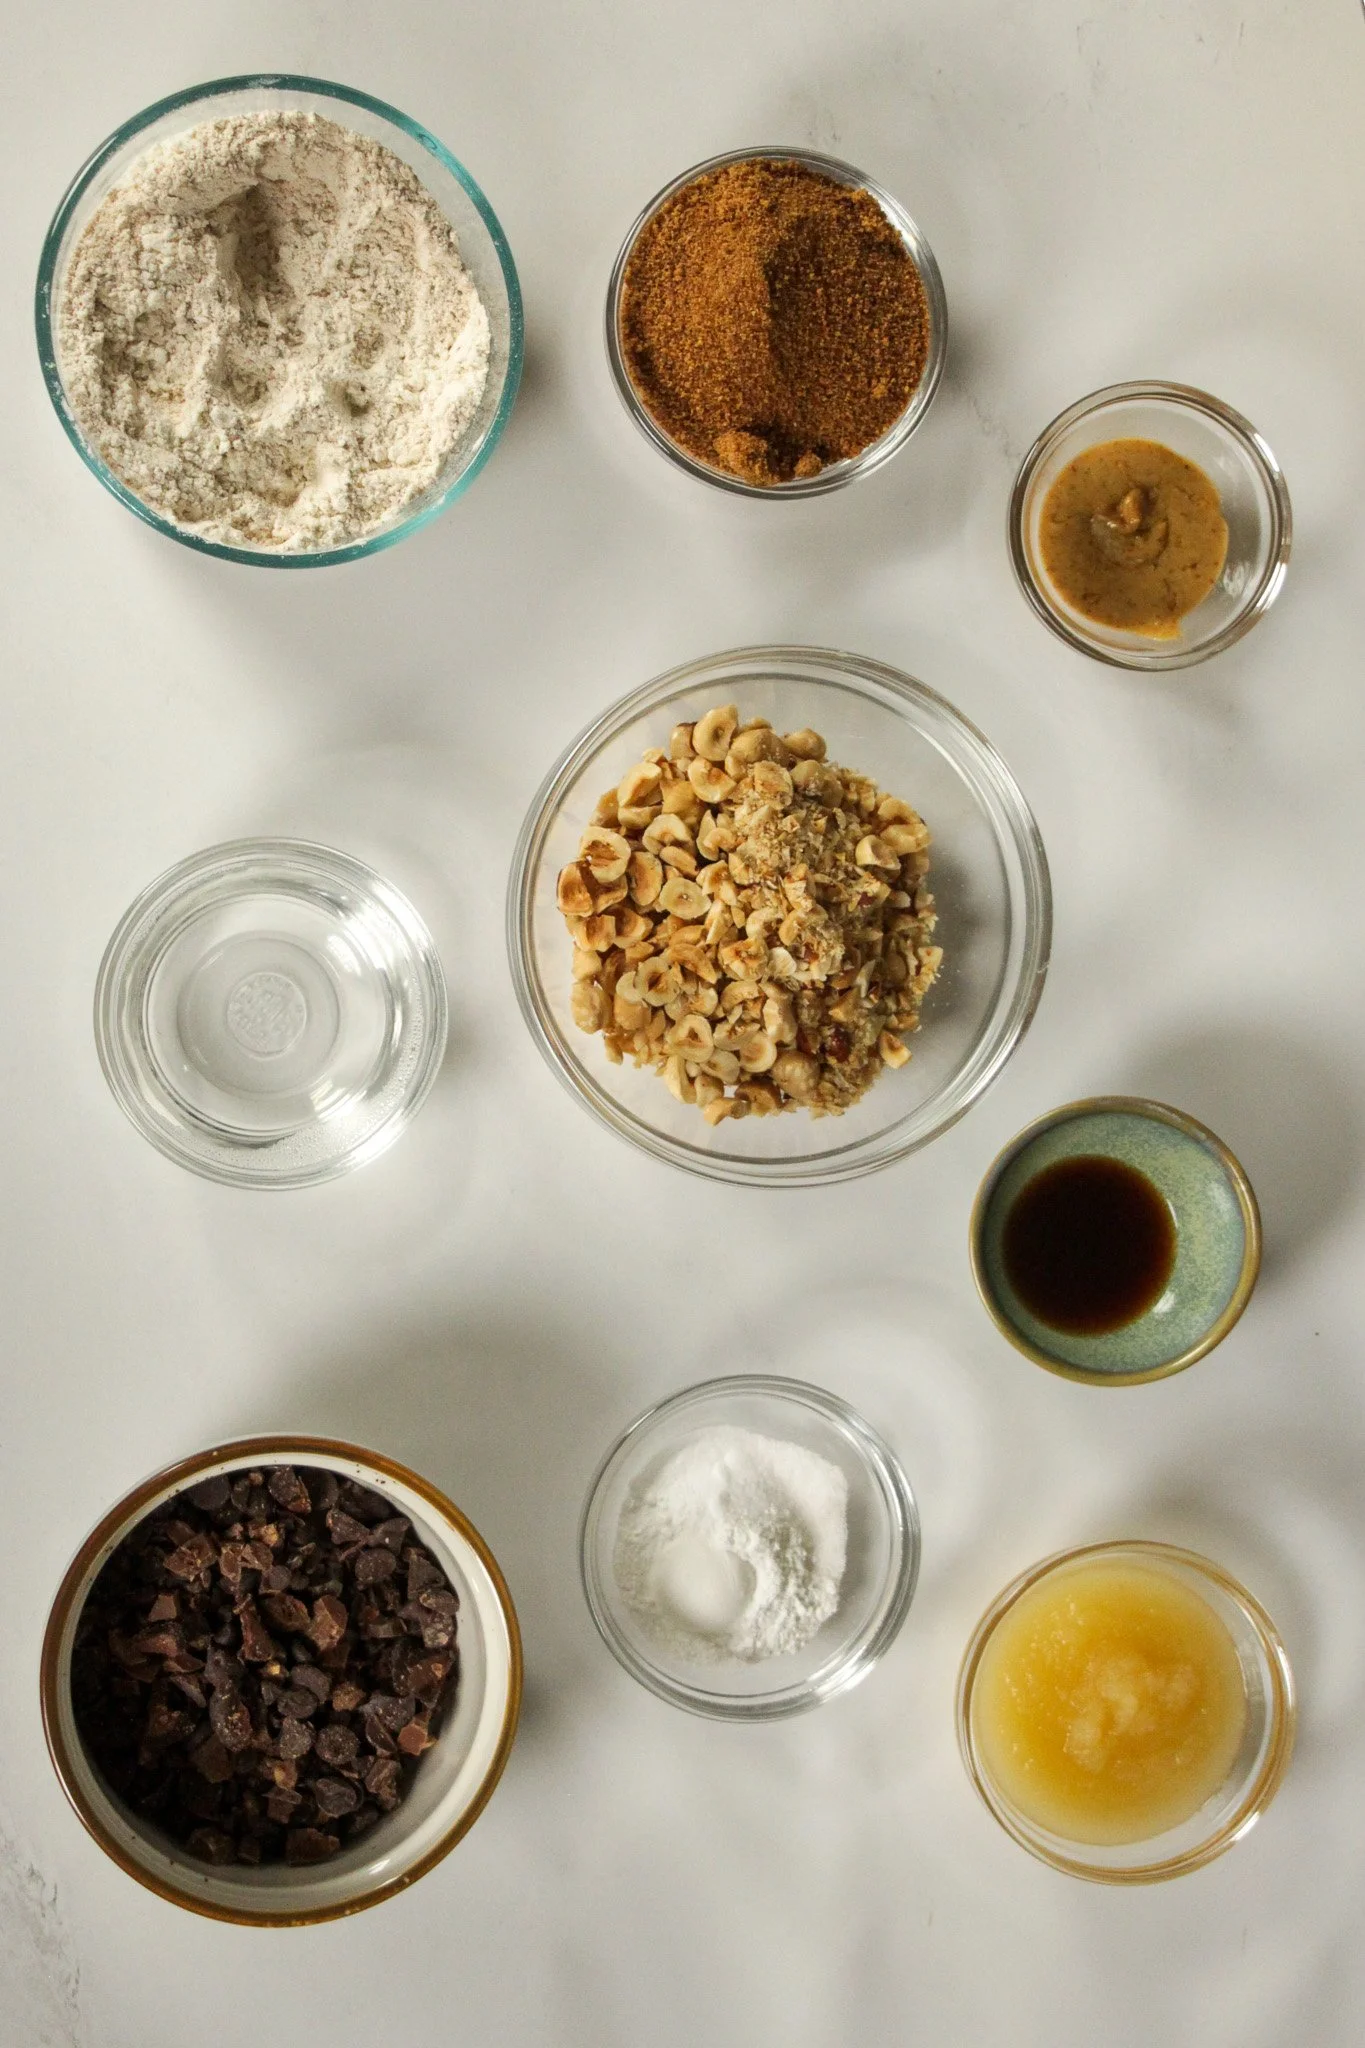
Ingredients
1 cup (125g) all-purpose flour*
⅓ cup + 2 tbsp (70g) coconut sugar
⅓ cup (60g) unsweetened apple purée
4½ tbsp (65g) coconut oil or vegan butter
1 tbsp almond butter
1½ tsp vanilla extract
1½ tsp baking powder
1½ tsp baking soda
Pinch of salt
Dark chocolate chunks, to taste
Crushed hazelnuts, to taste
Flaky sea salt, to finish
*if dough feels too soft - add p to 1/4 cup (30g) of flour

Method
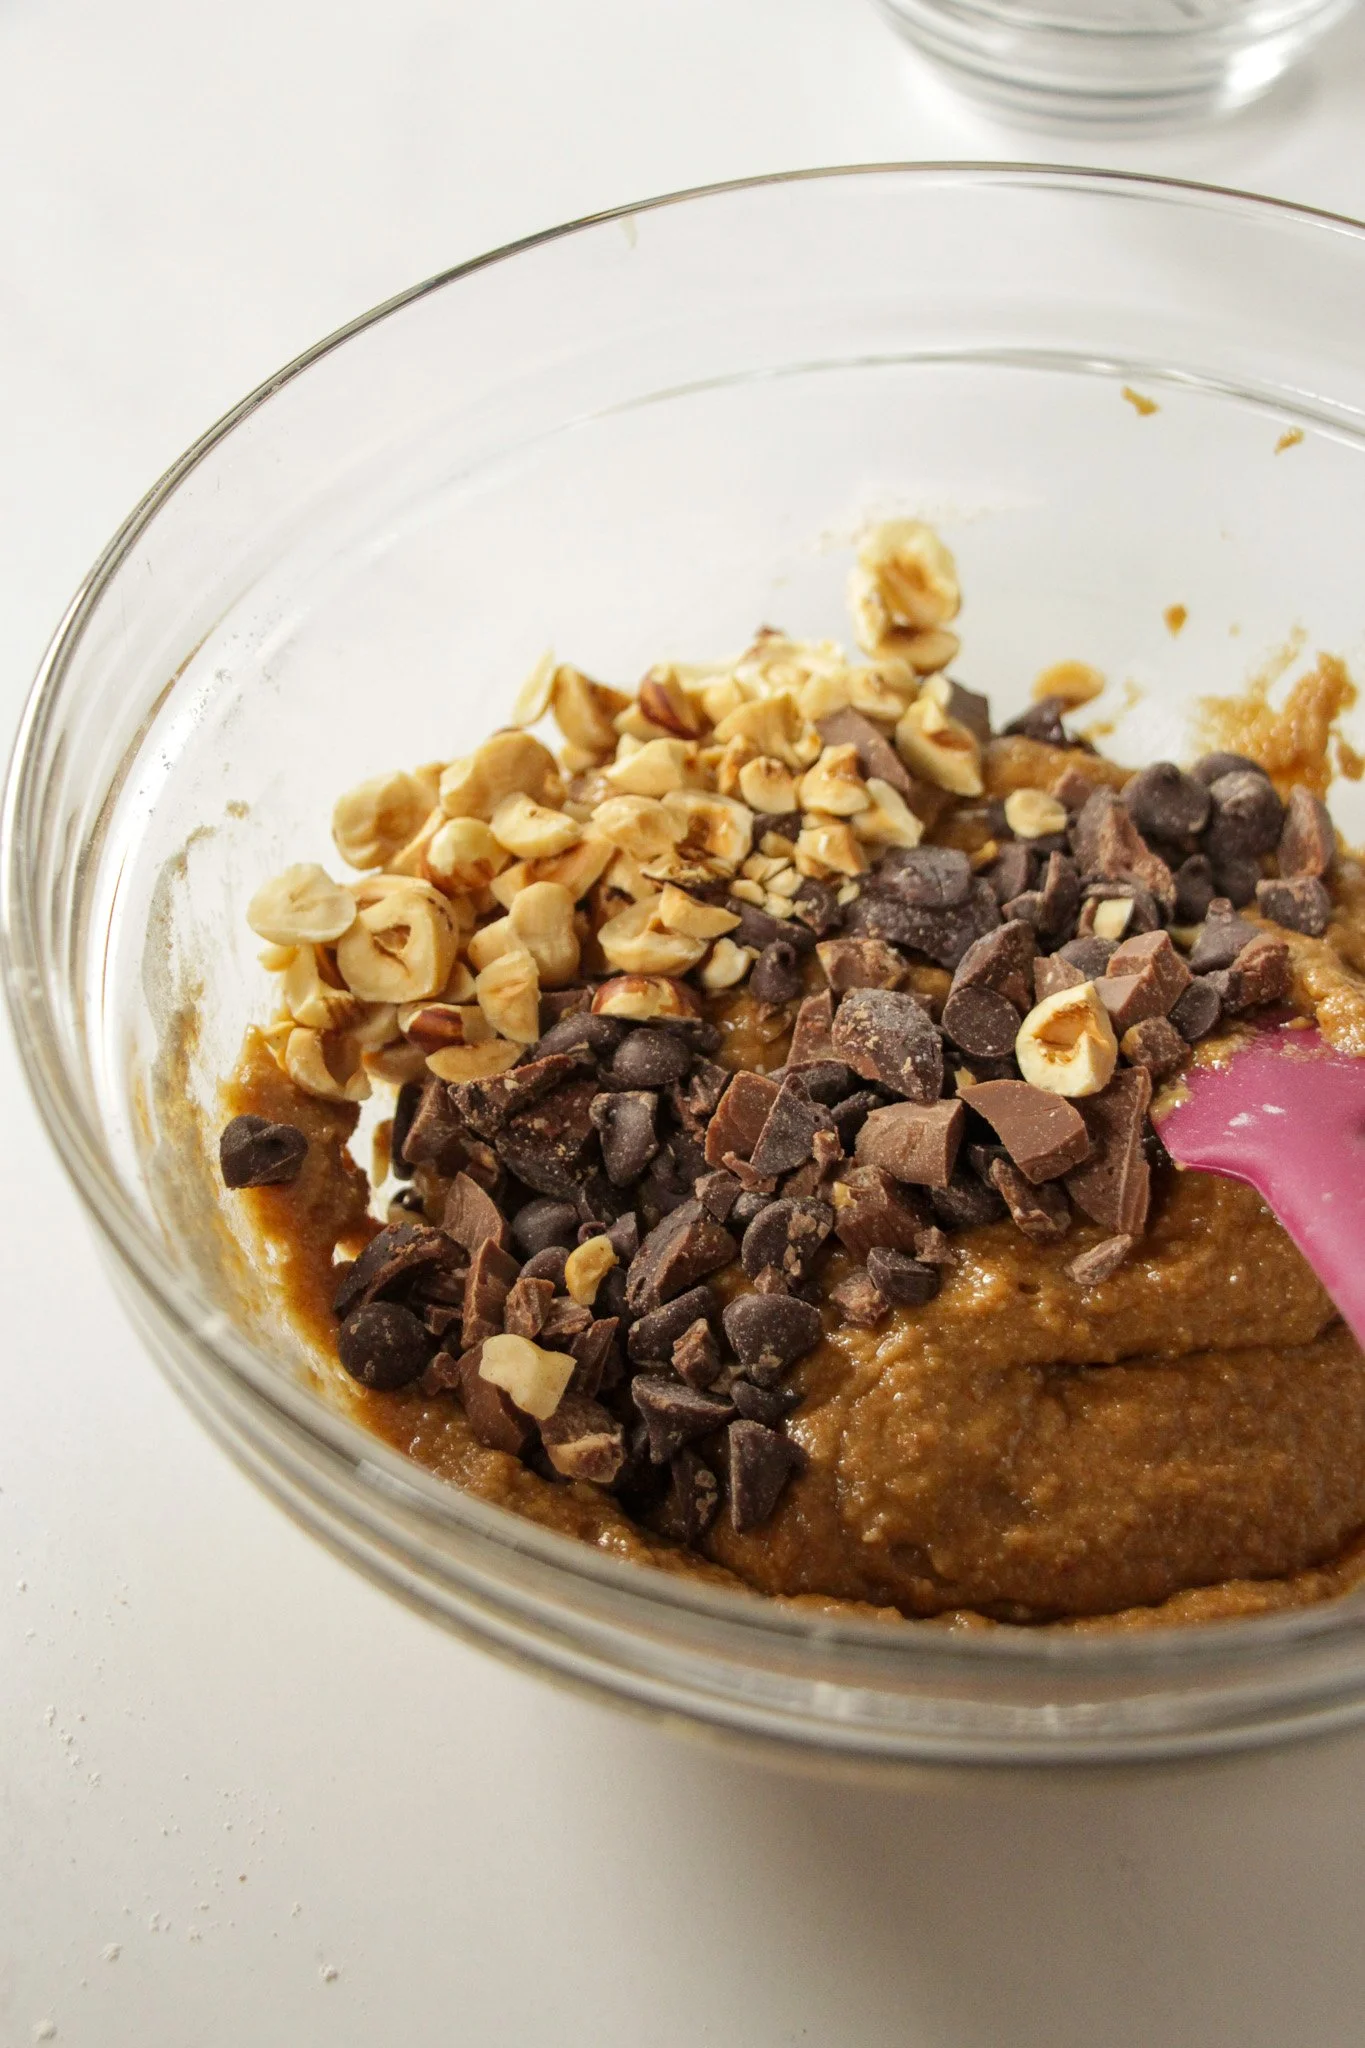
Beat coconut oil, apple purée, coconut sugar, almond butter, and vanilla extract together until well combined.
Add flour, salt, baking soda, baking powder, chocolate chunks, and crushed hazelnuts. Mix until a dough forms.
Refrigerate dough for 30 minutes.
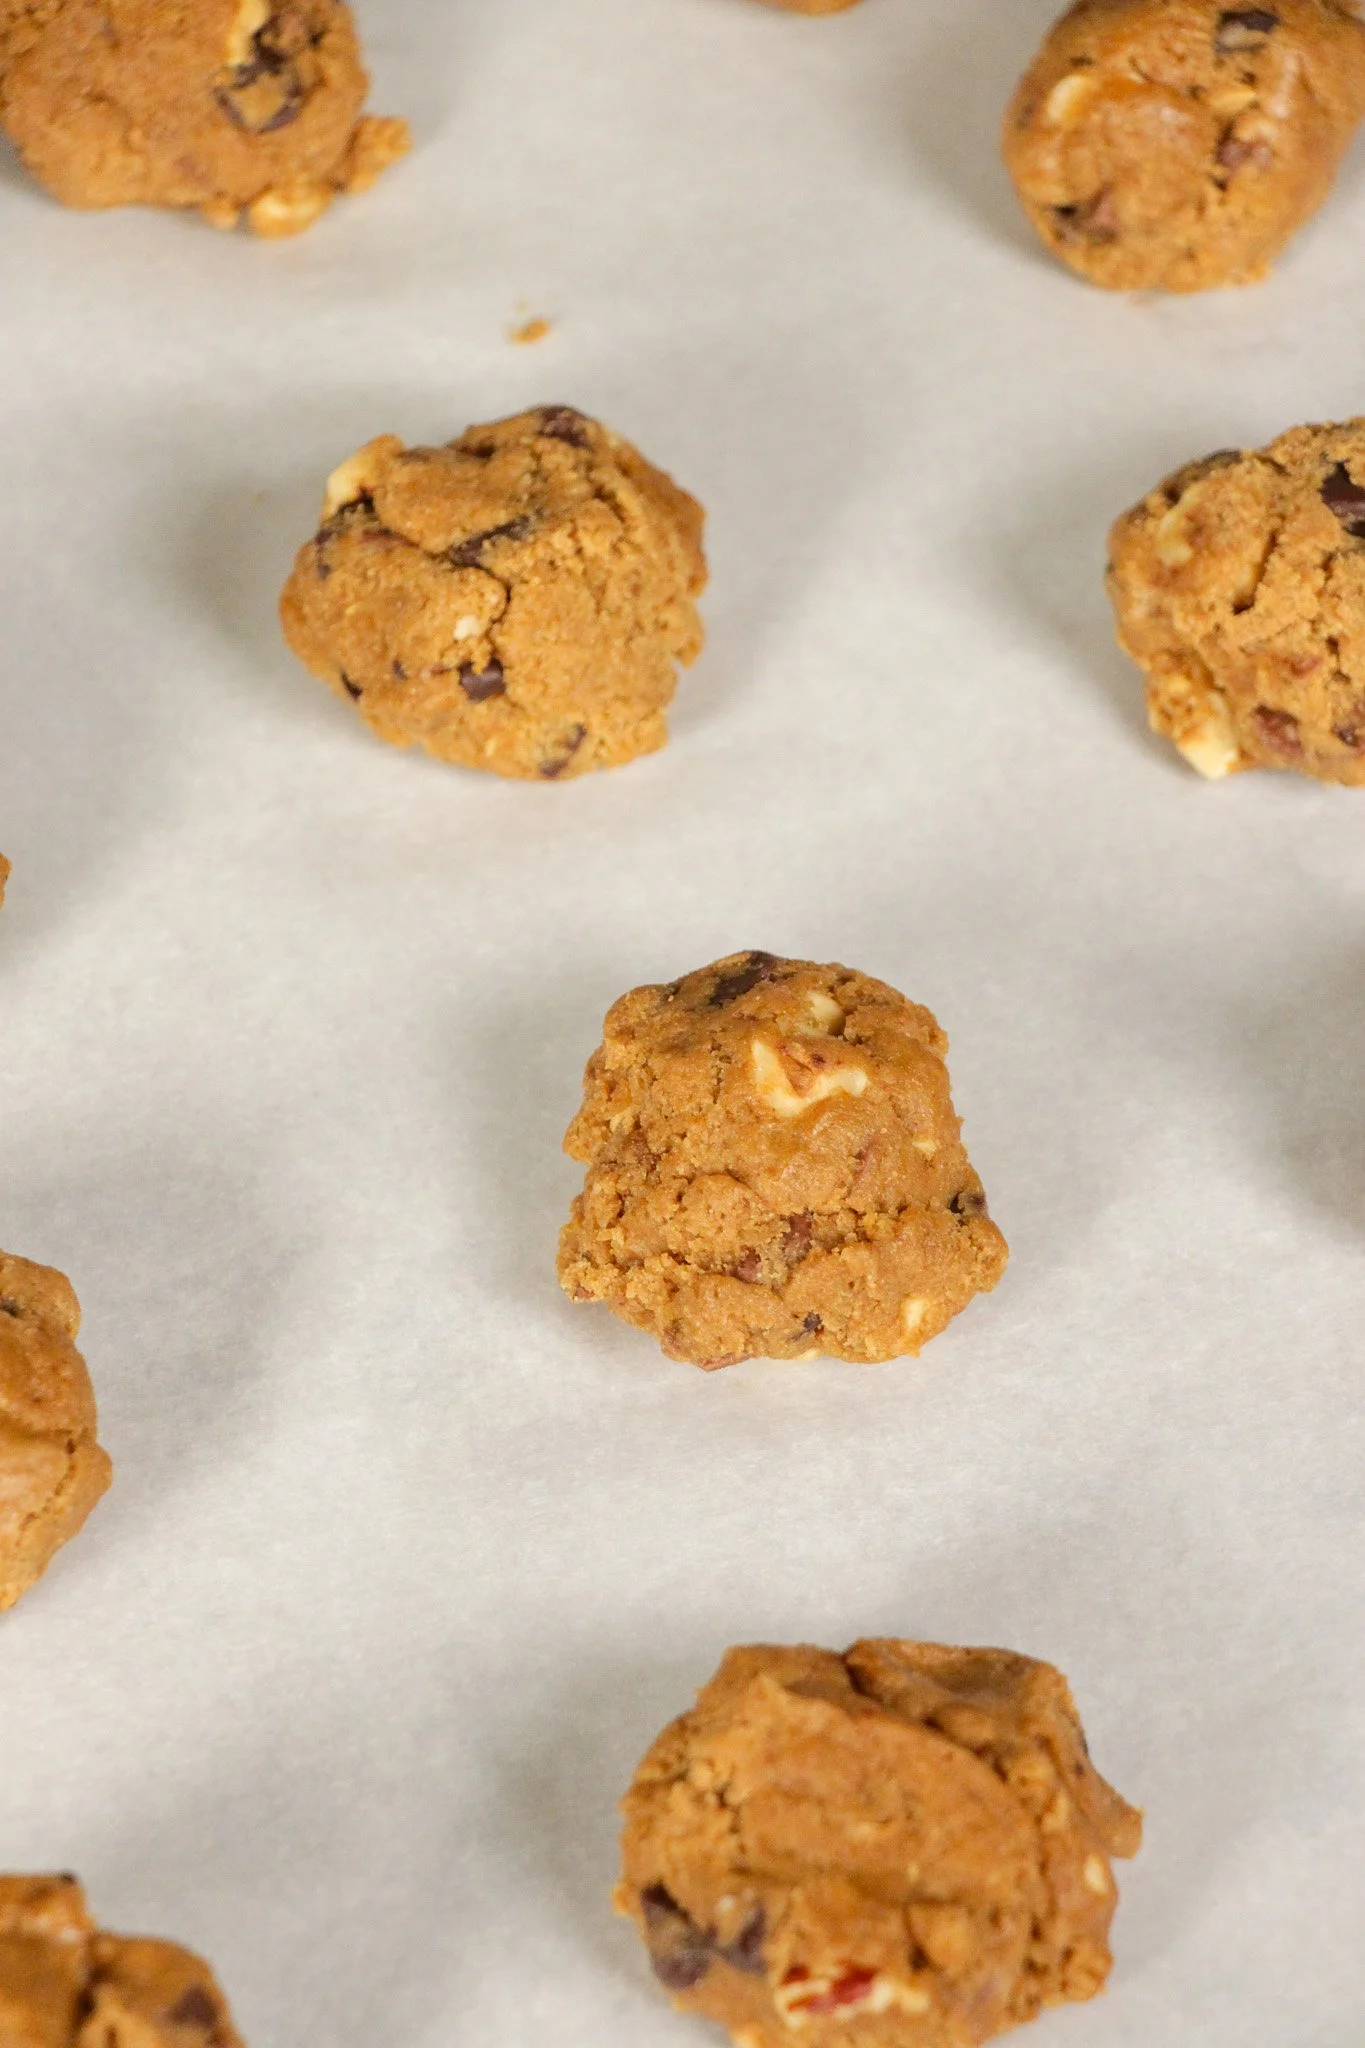
Preheat oven to 375°F (190°C). Line a baking tray with parchment.
Spoon dough onto the tray, one tablespoon per cookie. Press extra chocolate chunks and hazelnuts on top.
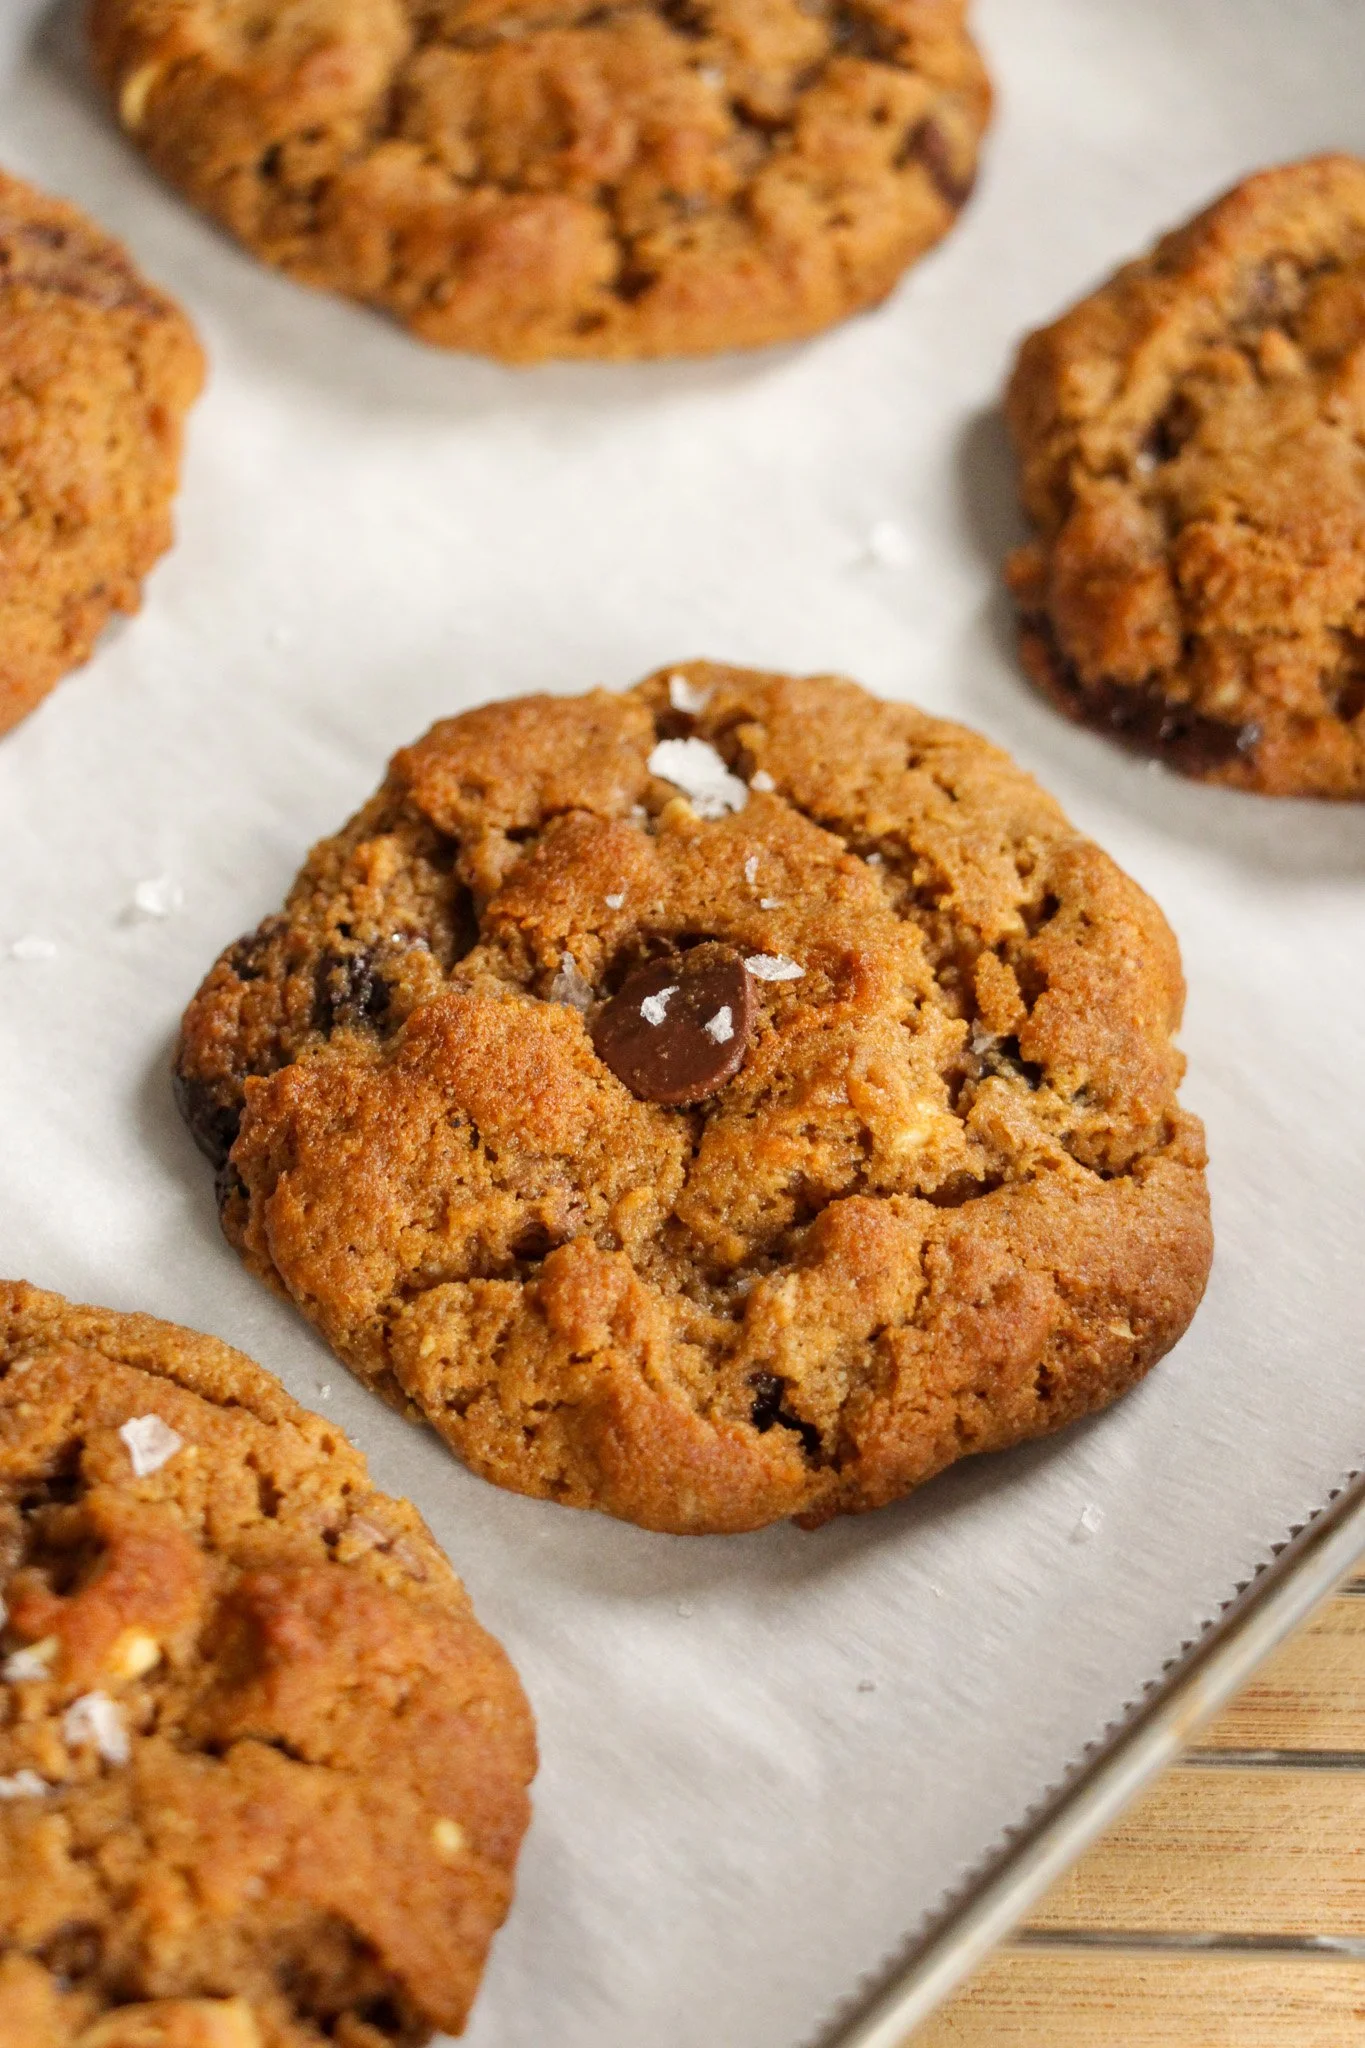
Bake 12–15 minutes. Watch them — they go from done to overdone fast. They'll look slightly underdone in the center; that's correct.
Remove from oven and immediately add a pinch of flaky salt to each cookie. Cool on the tray for 5 minutes before moving.
Tips & Storage
Don't skip the dough chill — it prevents spreading and improves texture.
These are best the day they're made but hold up well for 3–4 days in an airtight container.
For travel: they're sturdy enough for 1–2 days in a bag. Stack them in a rigid container.
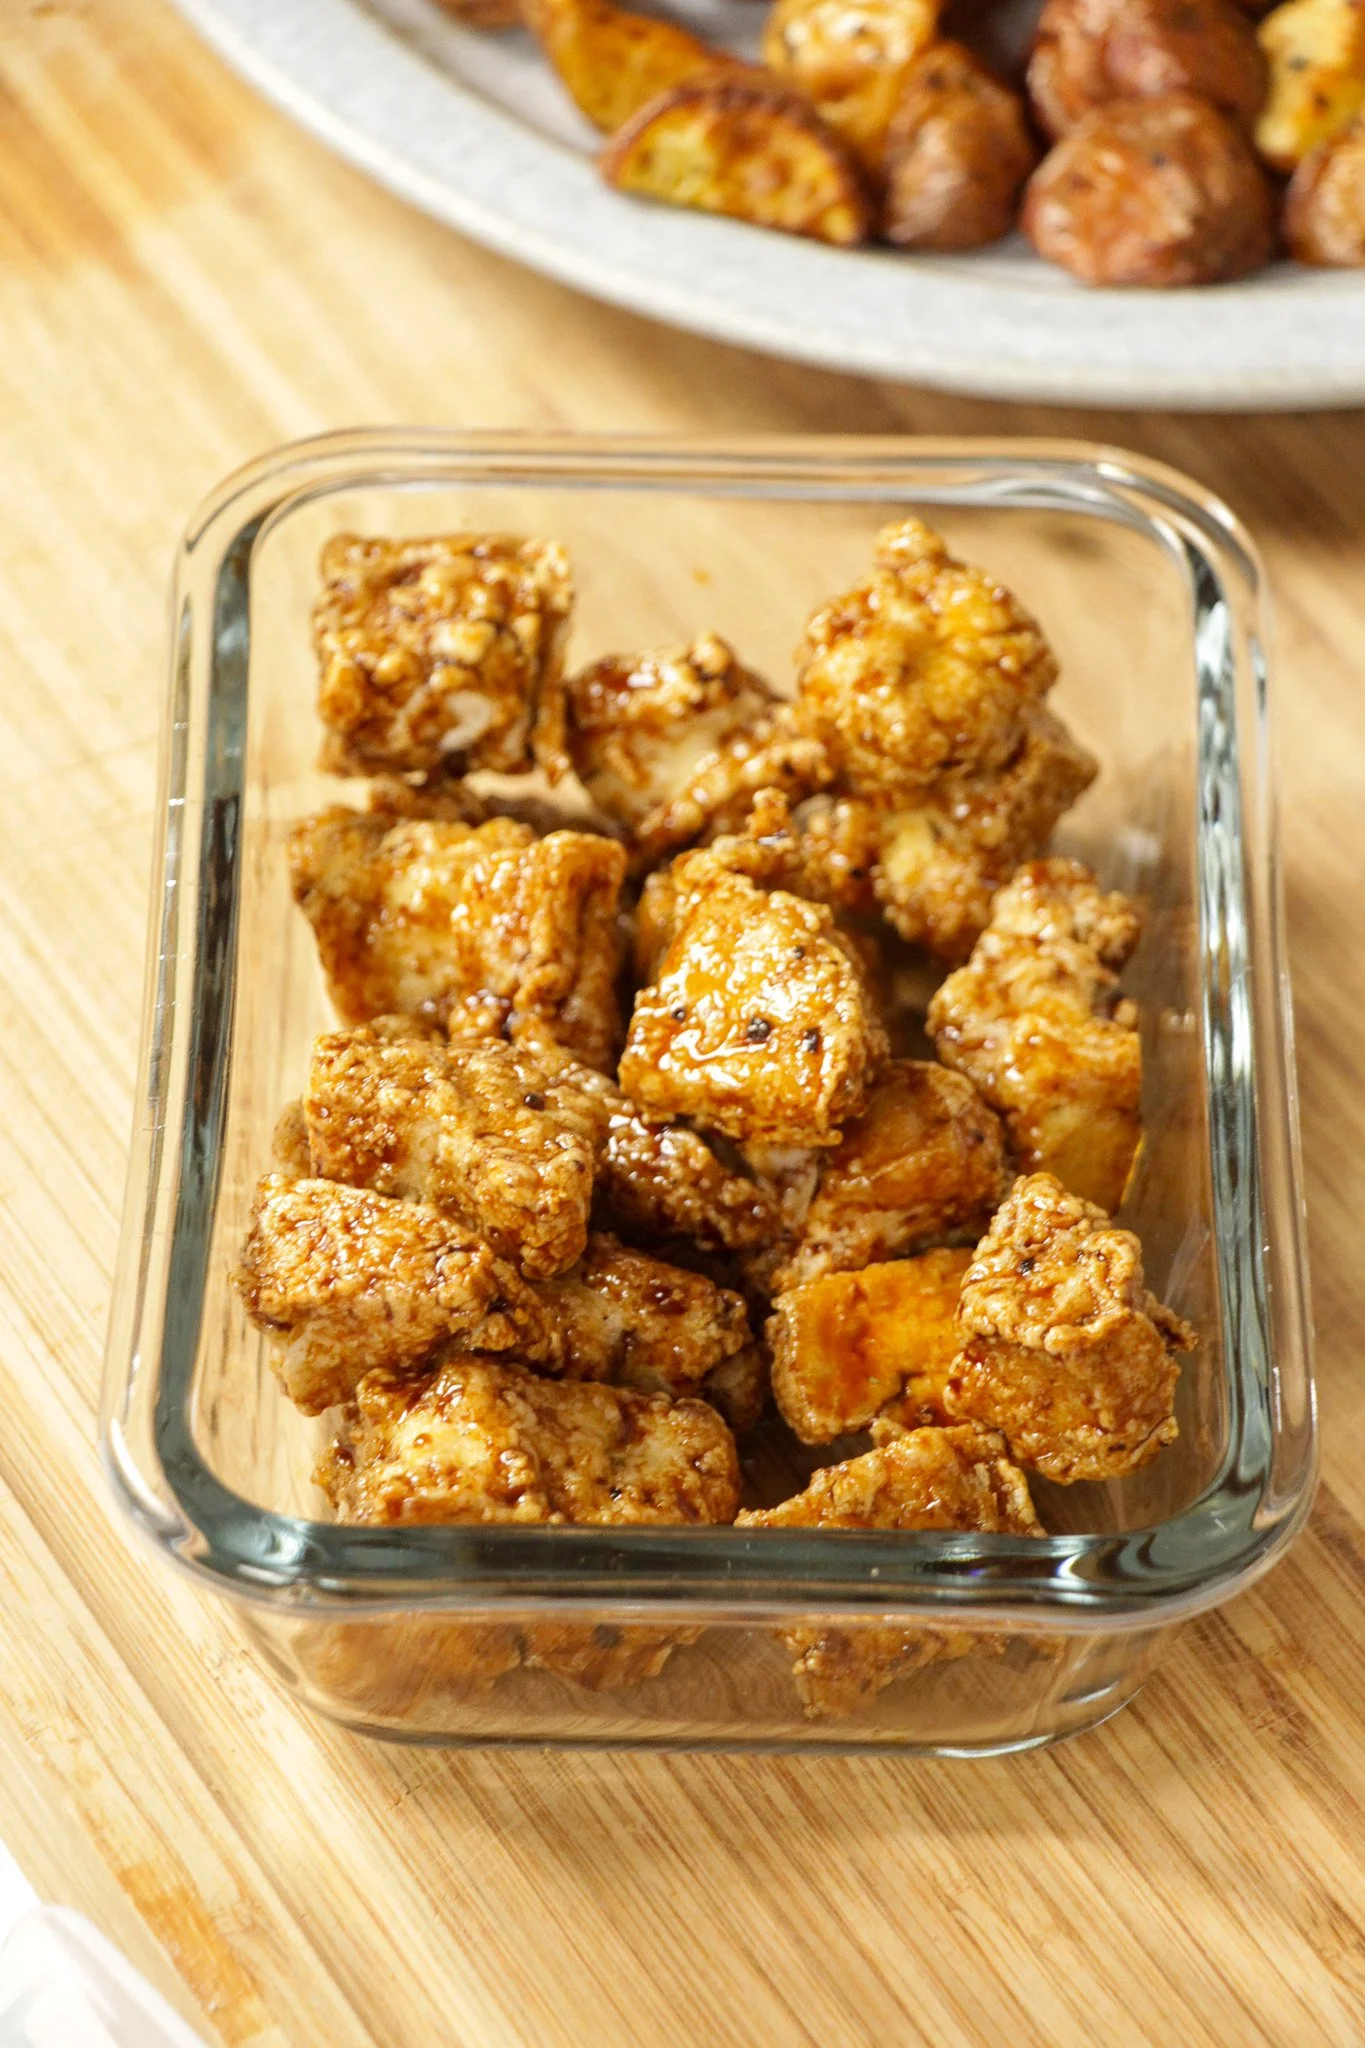
Crunchy Tofu Bites
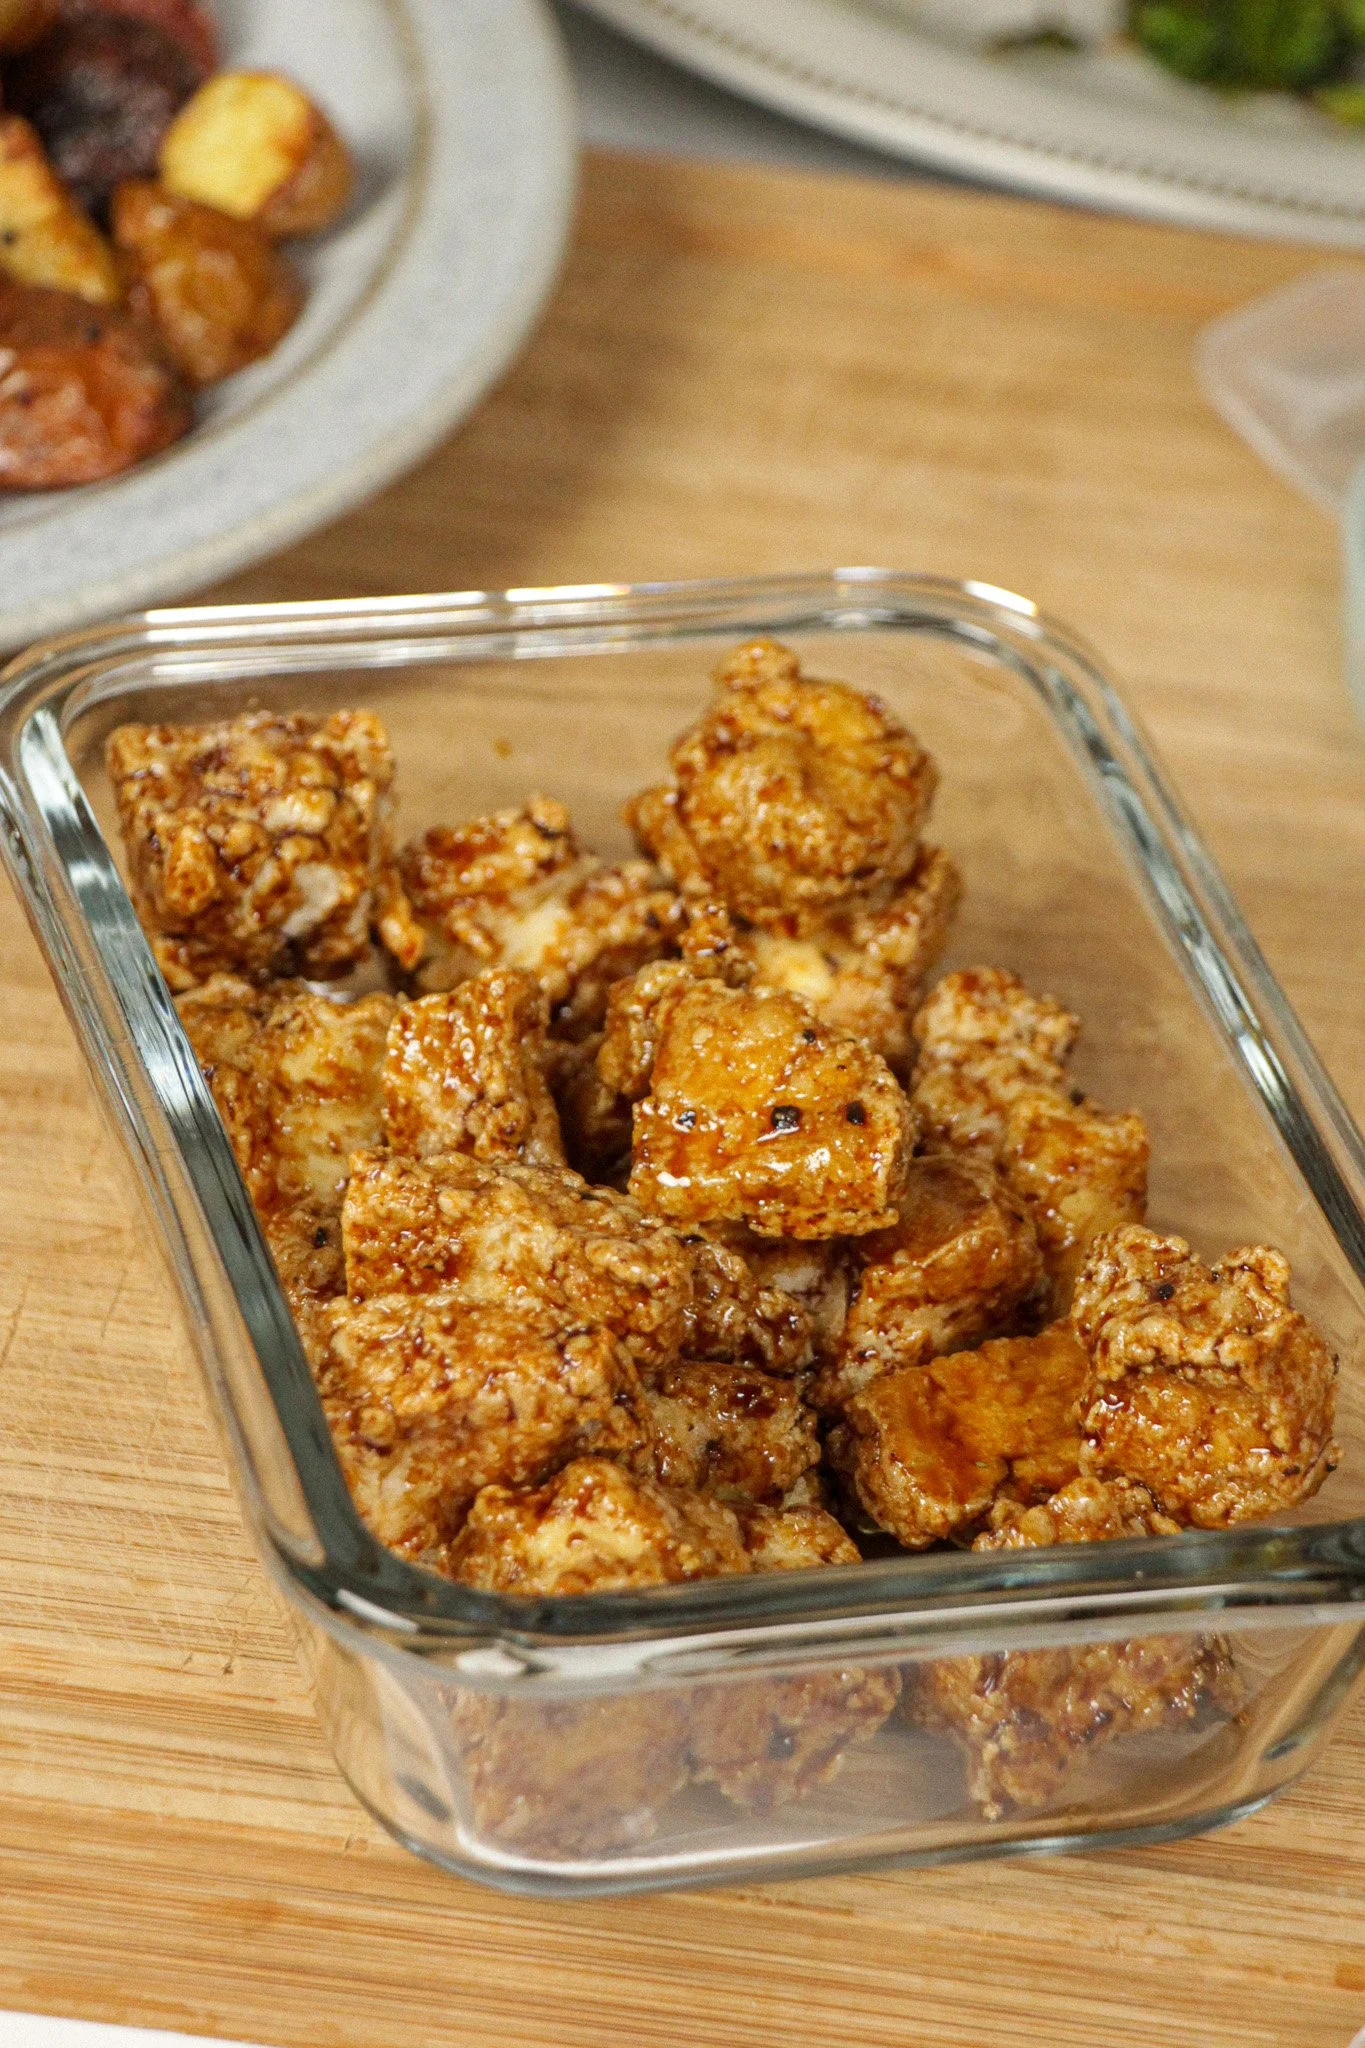
Crispy on the outside, tender inside, with a sticky soy glaze that clings to every piece. The tapioca flour gives the coating a slightly lighter, cracklier bite than the original. Serve over rice with a squeeze of lime, or as a standalone snack straight from the air fryer. Adapted from Eleanore Park's Air-Fryer Tofu, originally published in The New York Times.
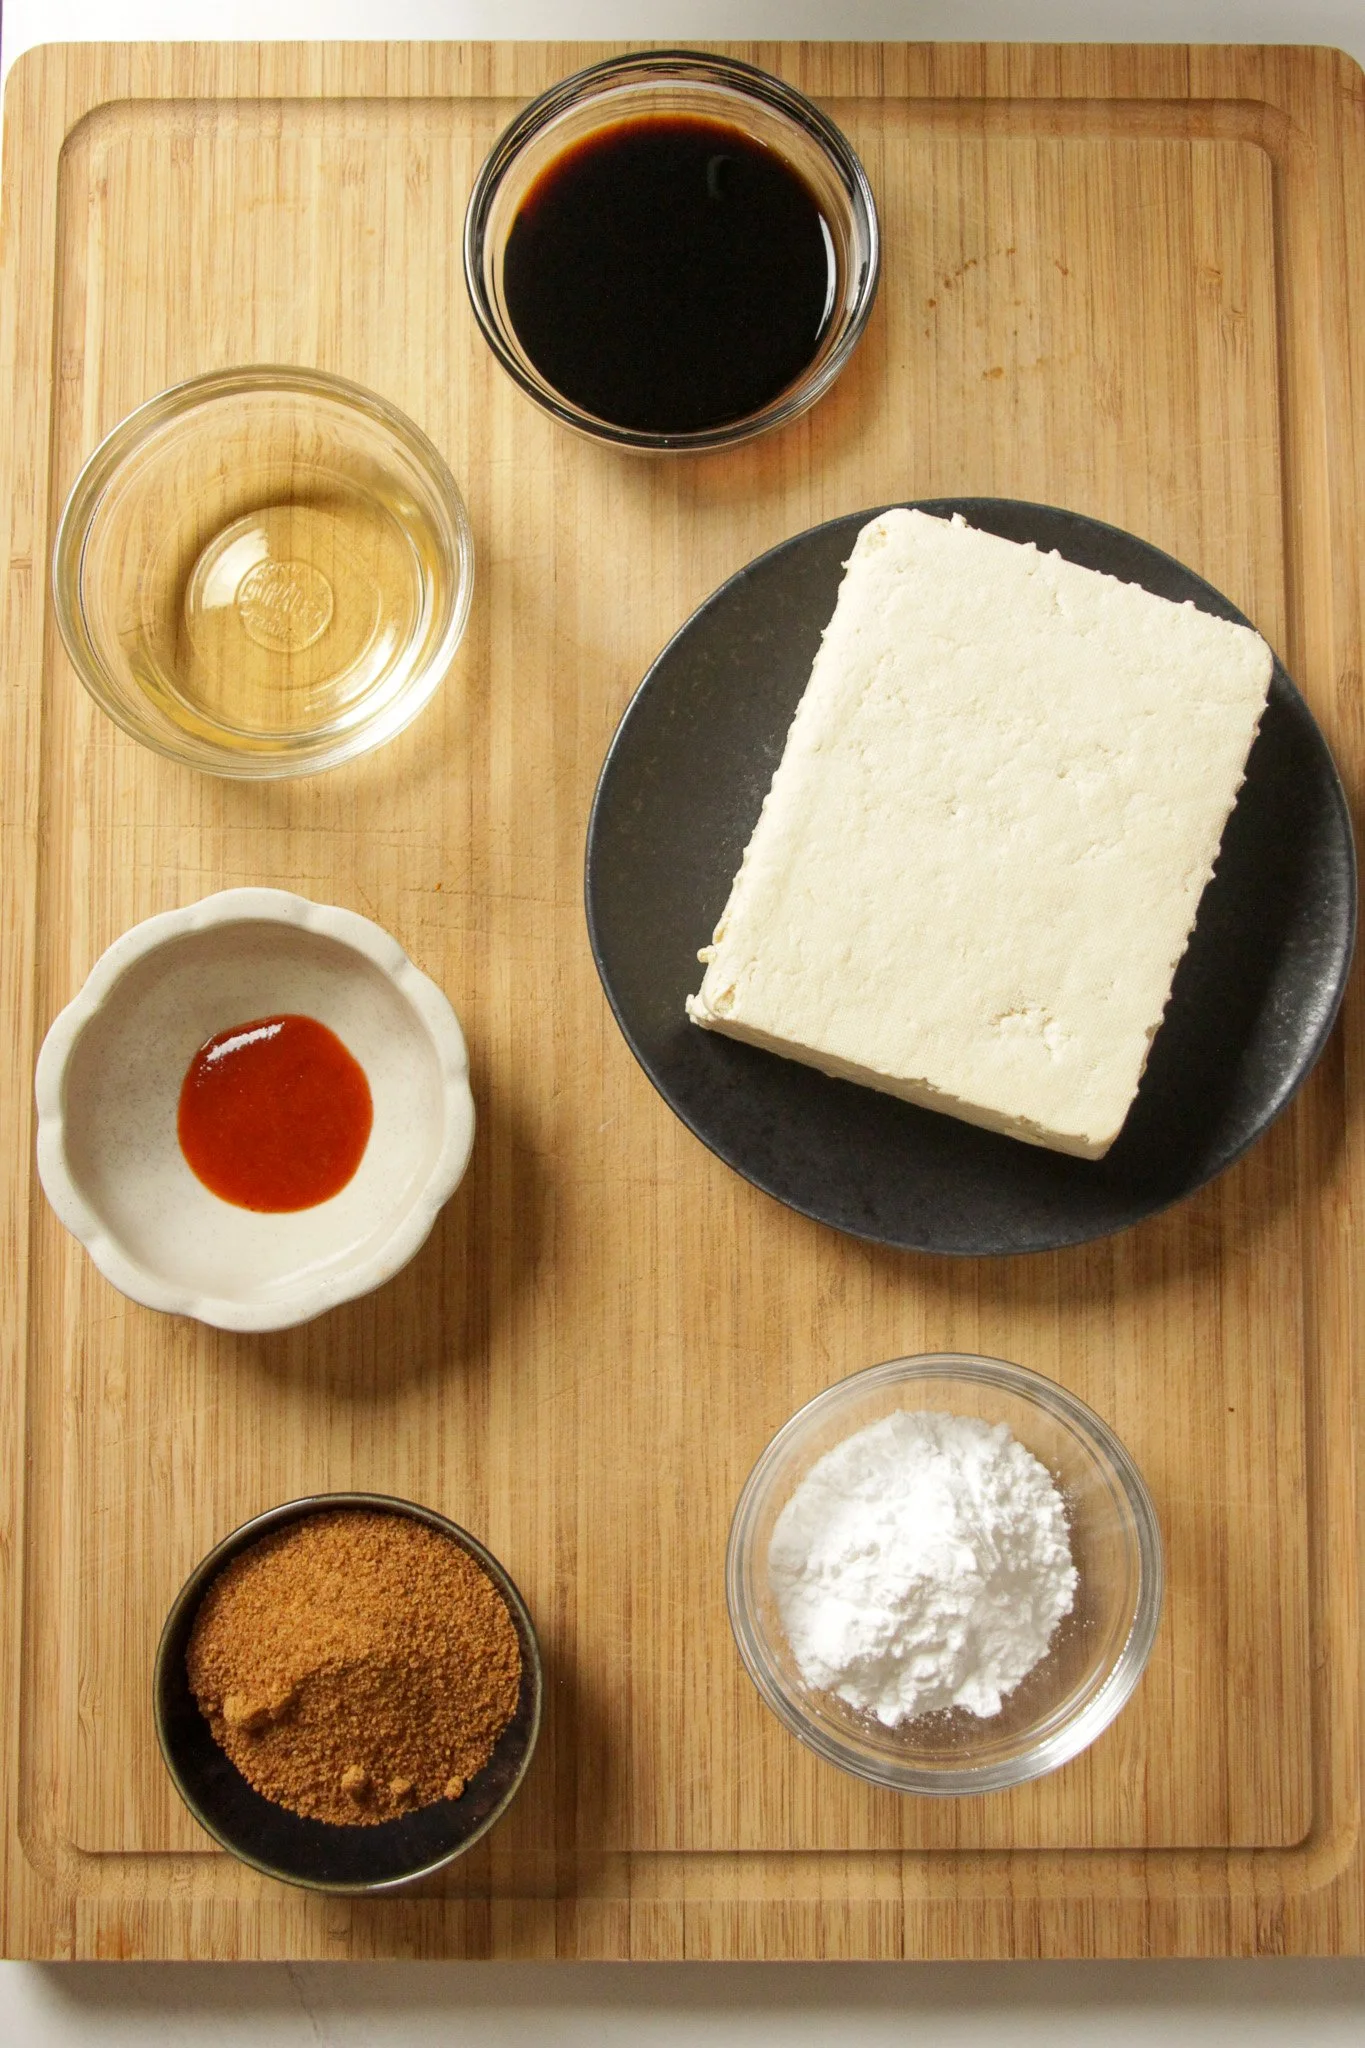
Ingredients
14 oz (400g) medium or medium-firm tofu (if unavailable, firm works), drained
½ cup tapioca flour
1½ tsp kosher salt
Freshly cracked black pepper
Nonstick cooking spray
¼ cup coconut sugar
3 tbsp rice vinegar
3 tbsp low-sodium soy sauce
½ tsp sambal oelek or sriracha
Sliced scallions, to serve (optional)
Method
Heat air fryer to 375°F, if preheating is recommended for your model.
Wrap tofu in a clean kitchen towel or several layers of paper towels. Place on a plate, weigh down with something heavy, and press for at least 10 minutes and up to 30.
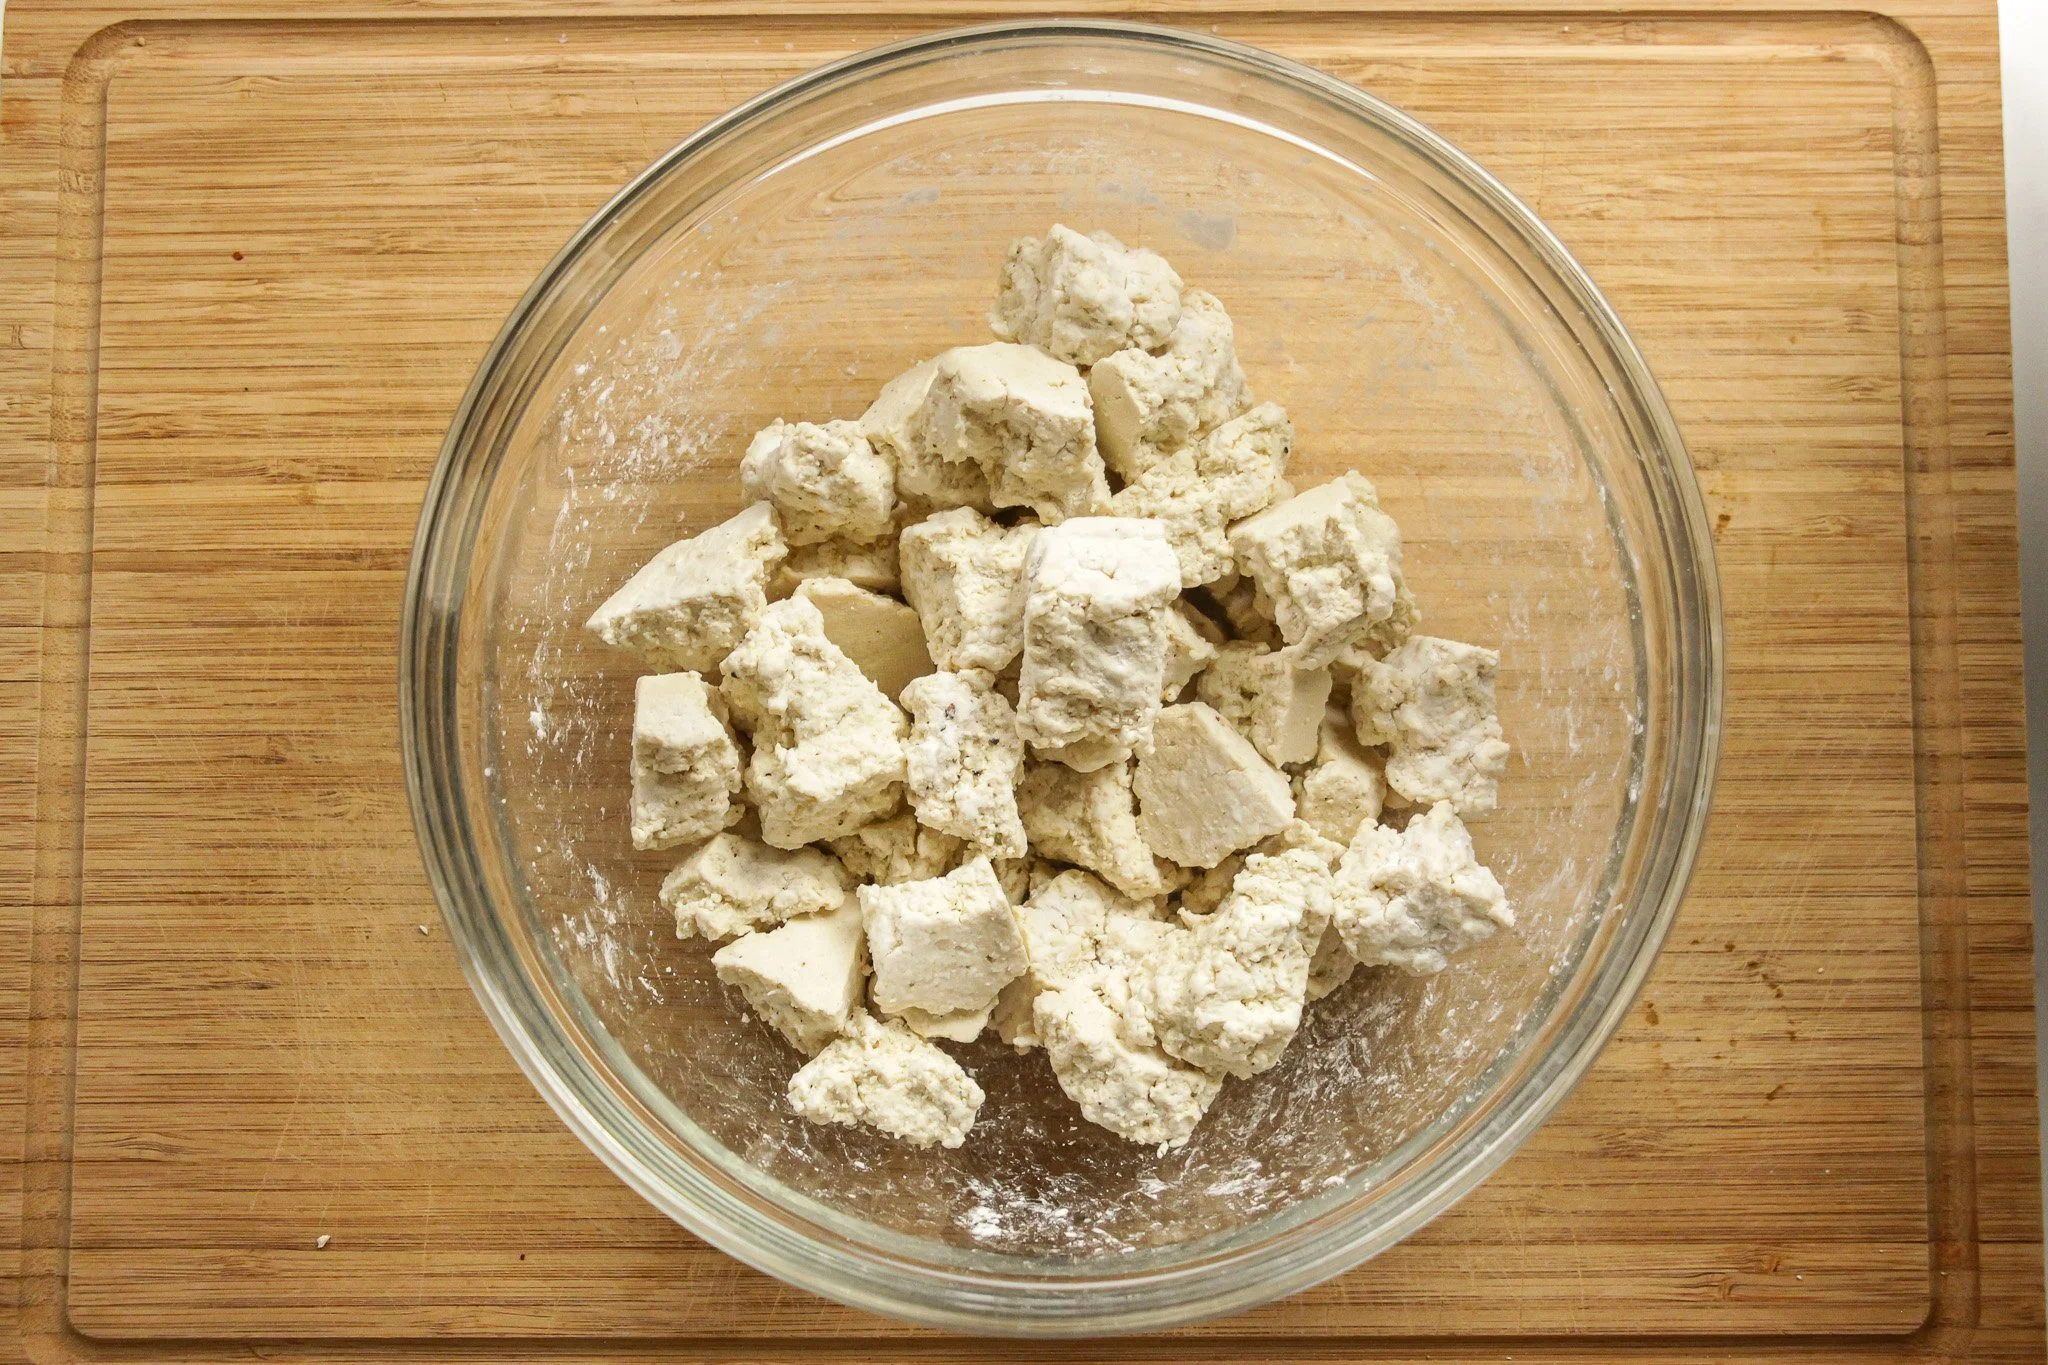
In a large bowl, combine tapioca flour, salt, and pepper. Unwrap tofu, pat dry once more, and cut into ¾-inch cubes. Add to the flour mixture and toss gently with your fingers until evenly coated.
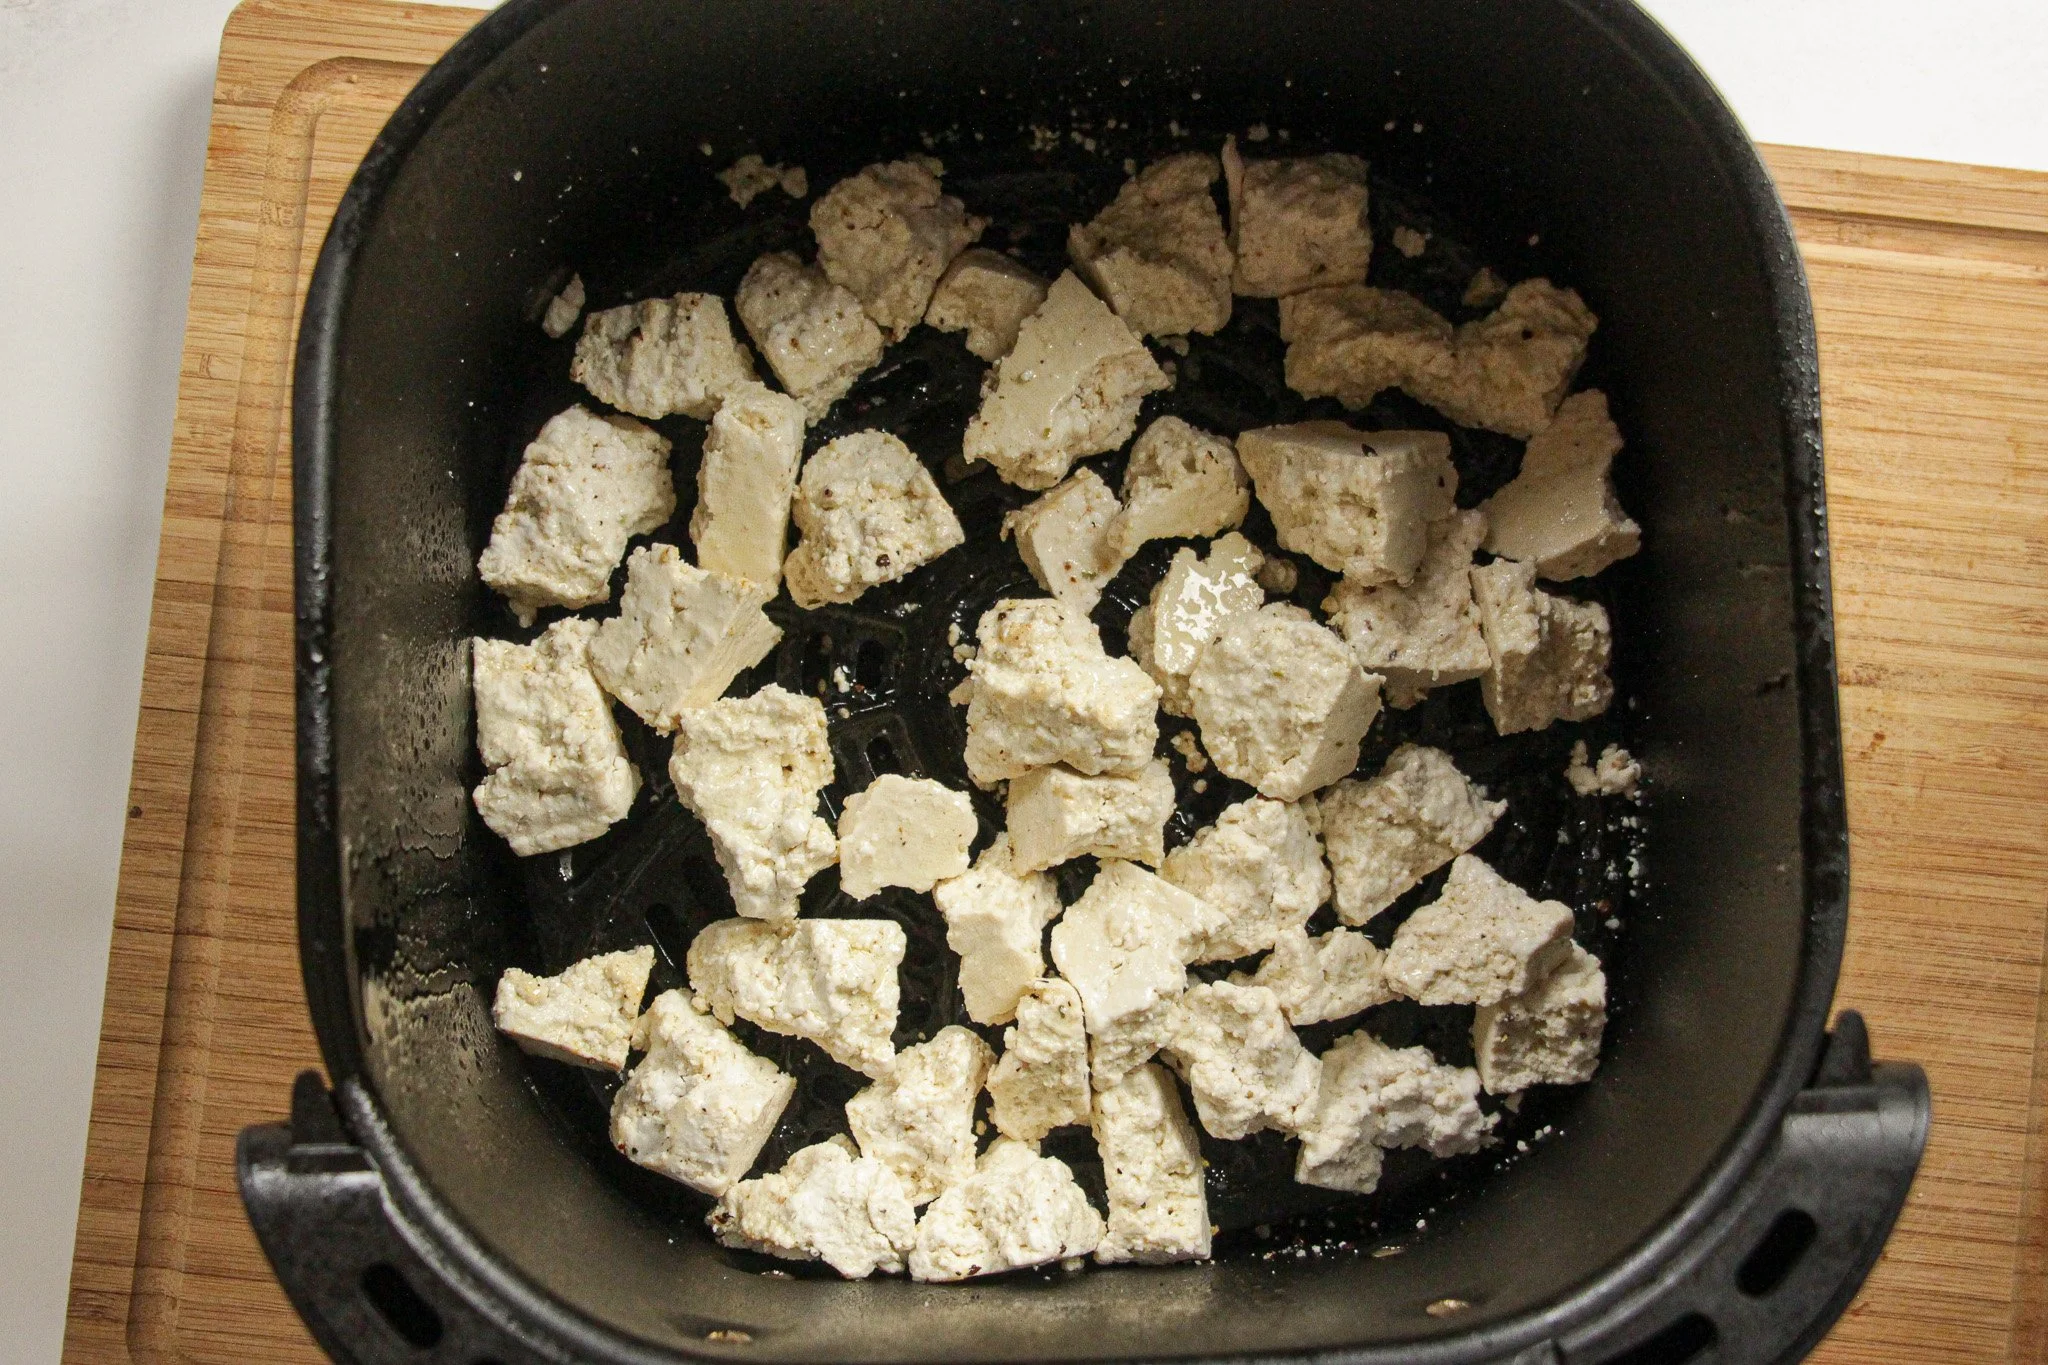
Spray the air fryer basket with cooking spray. Transfer tofu, shaking off any excess flour. Spray the tops of the tofu pieces once more. Air fry until slightly puffed, about 10 minutes. Toss or shake, then continue cooking until lightly golden and crisped all around, about 10 more minutes.
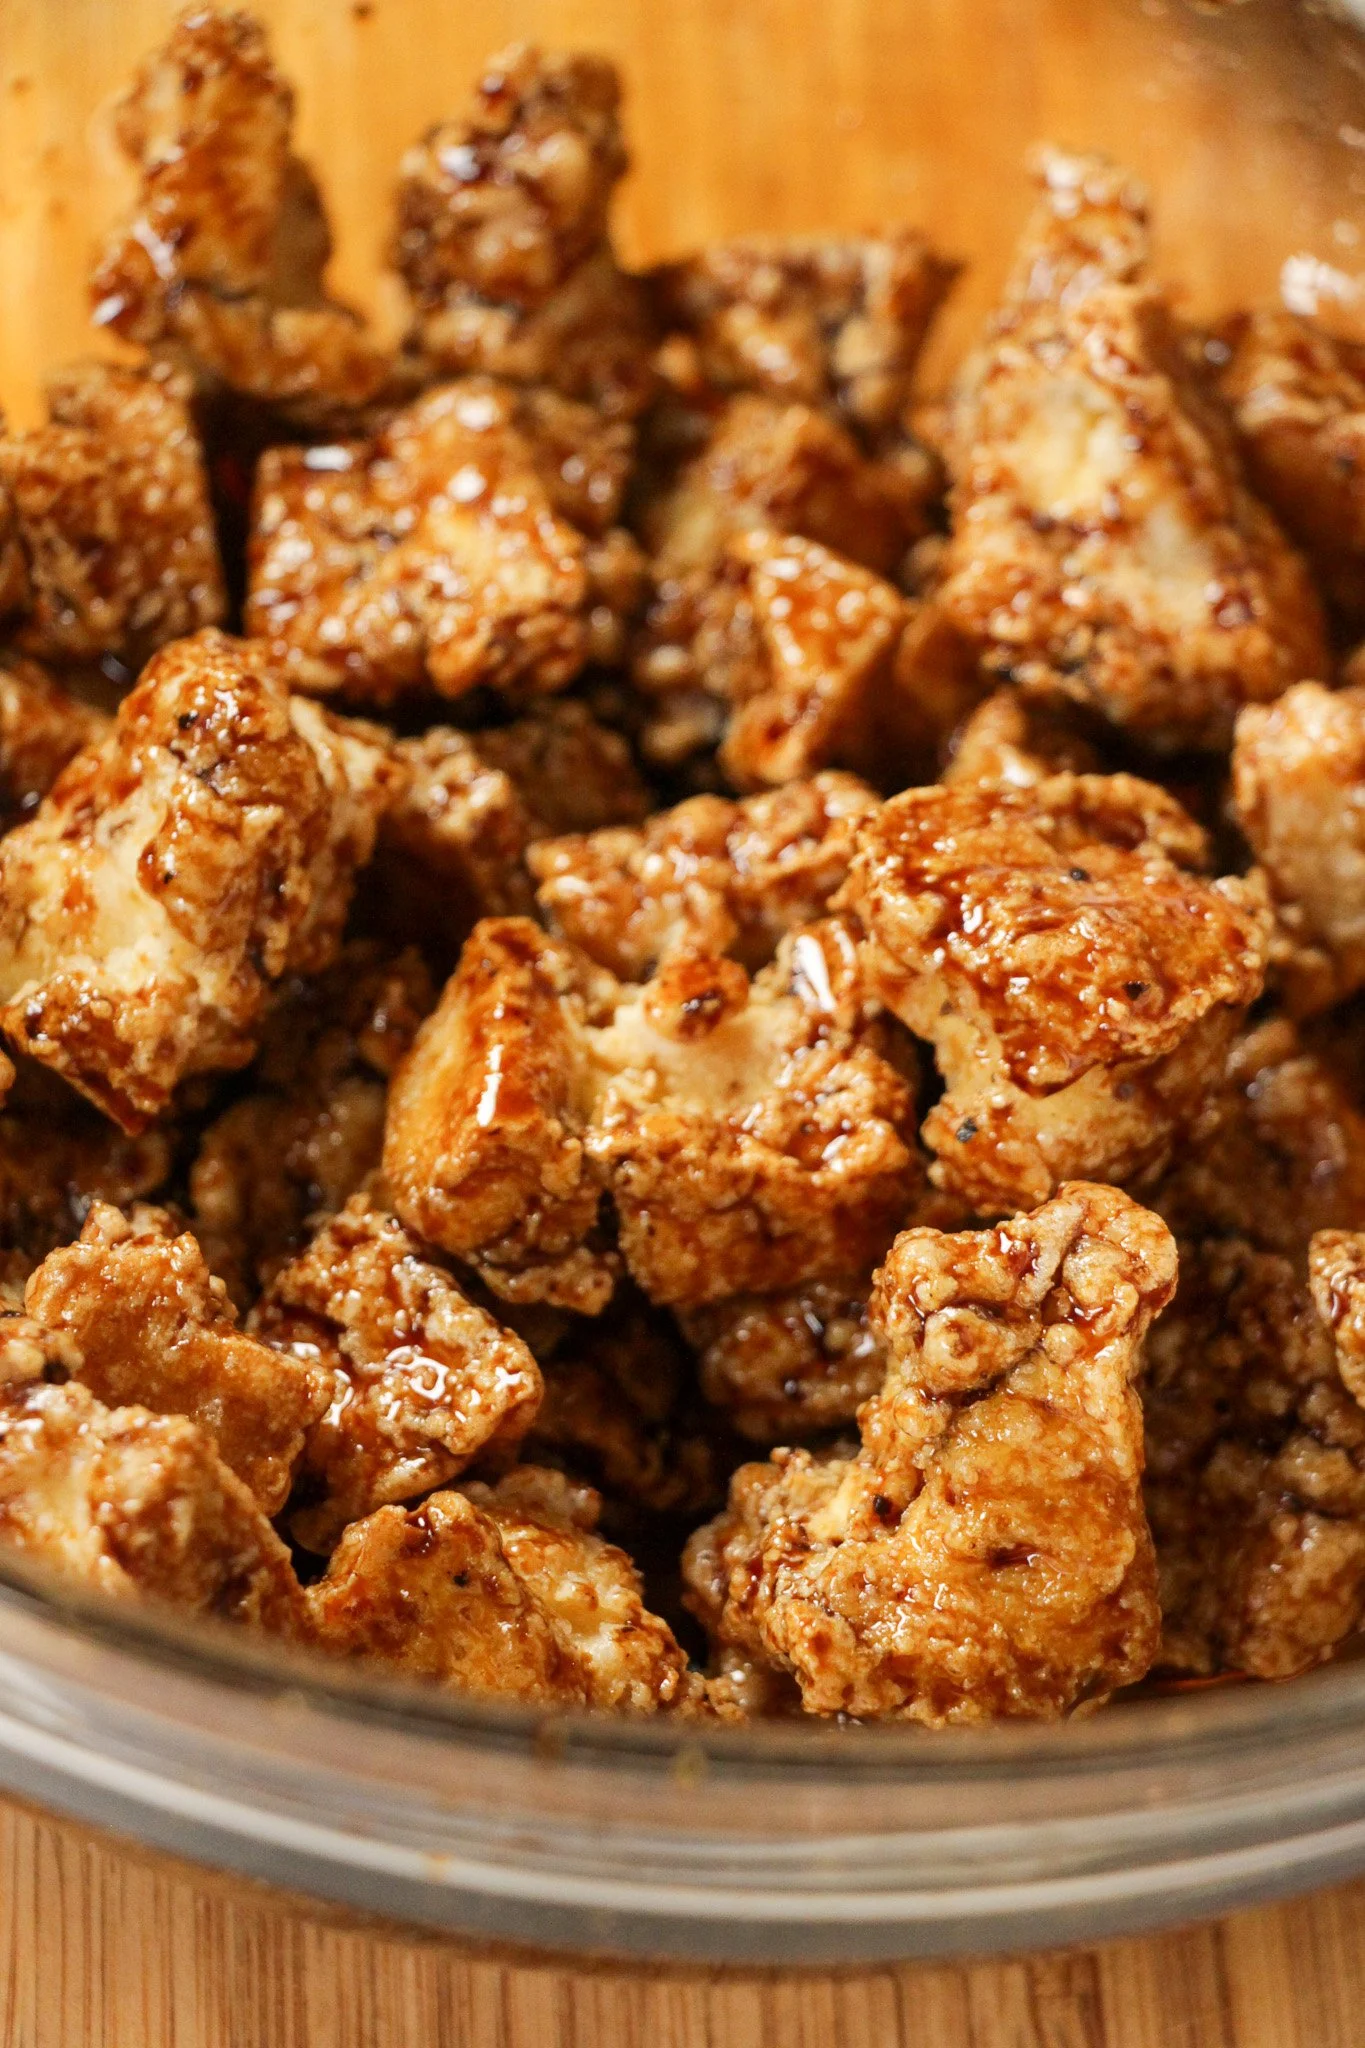
While the tofu cooks, wipe out the large bowl. In a small skillet over medium heat, combine coconut sugar, rice vinegar, and soy sauce. Cook, stirring occasionally, until the sauce thickens slightly and coats the back of a spoon, about 5 minutes. Remove from heat and stir in sambal oelek or sriracha.
Return the crispy tofu to the large bowl. Pour the glaze over and toss to coat. Transfer to a serving plate and top with scallions if using.
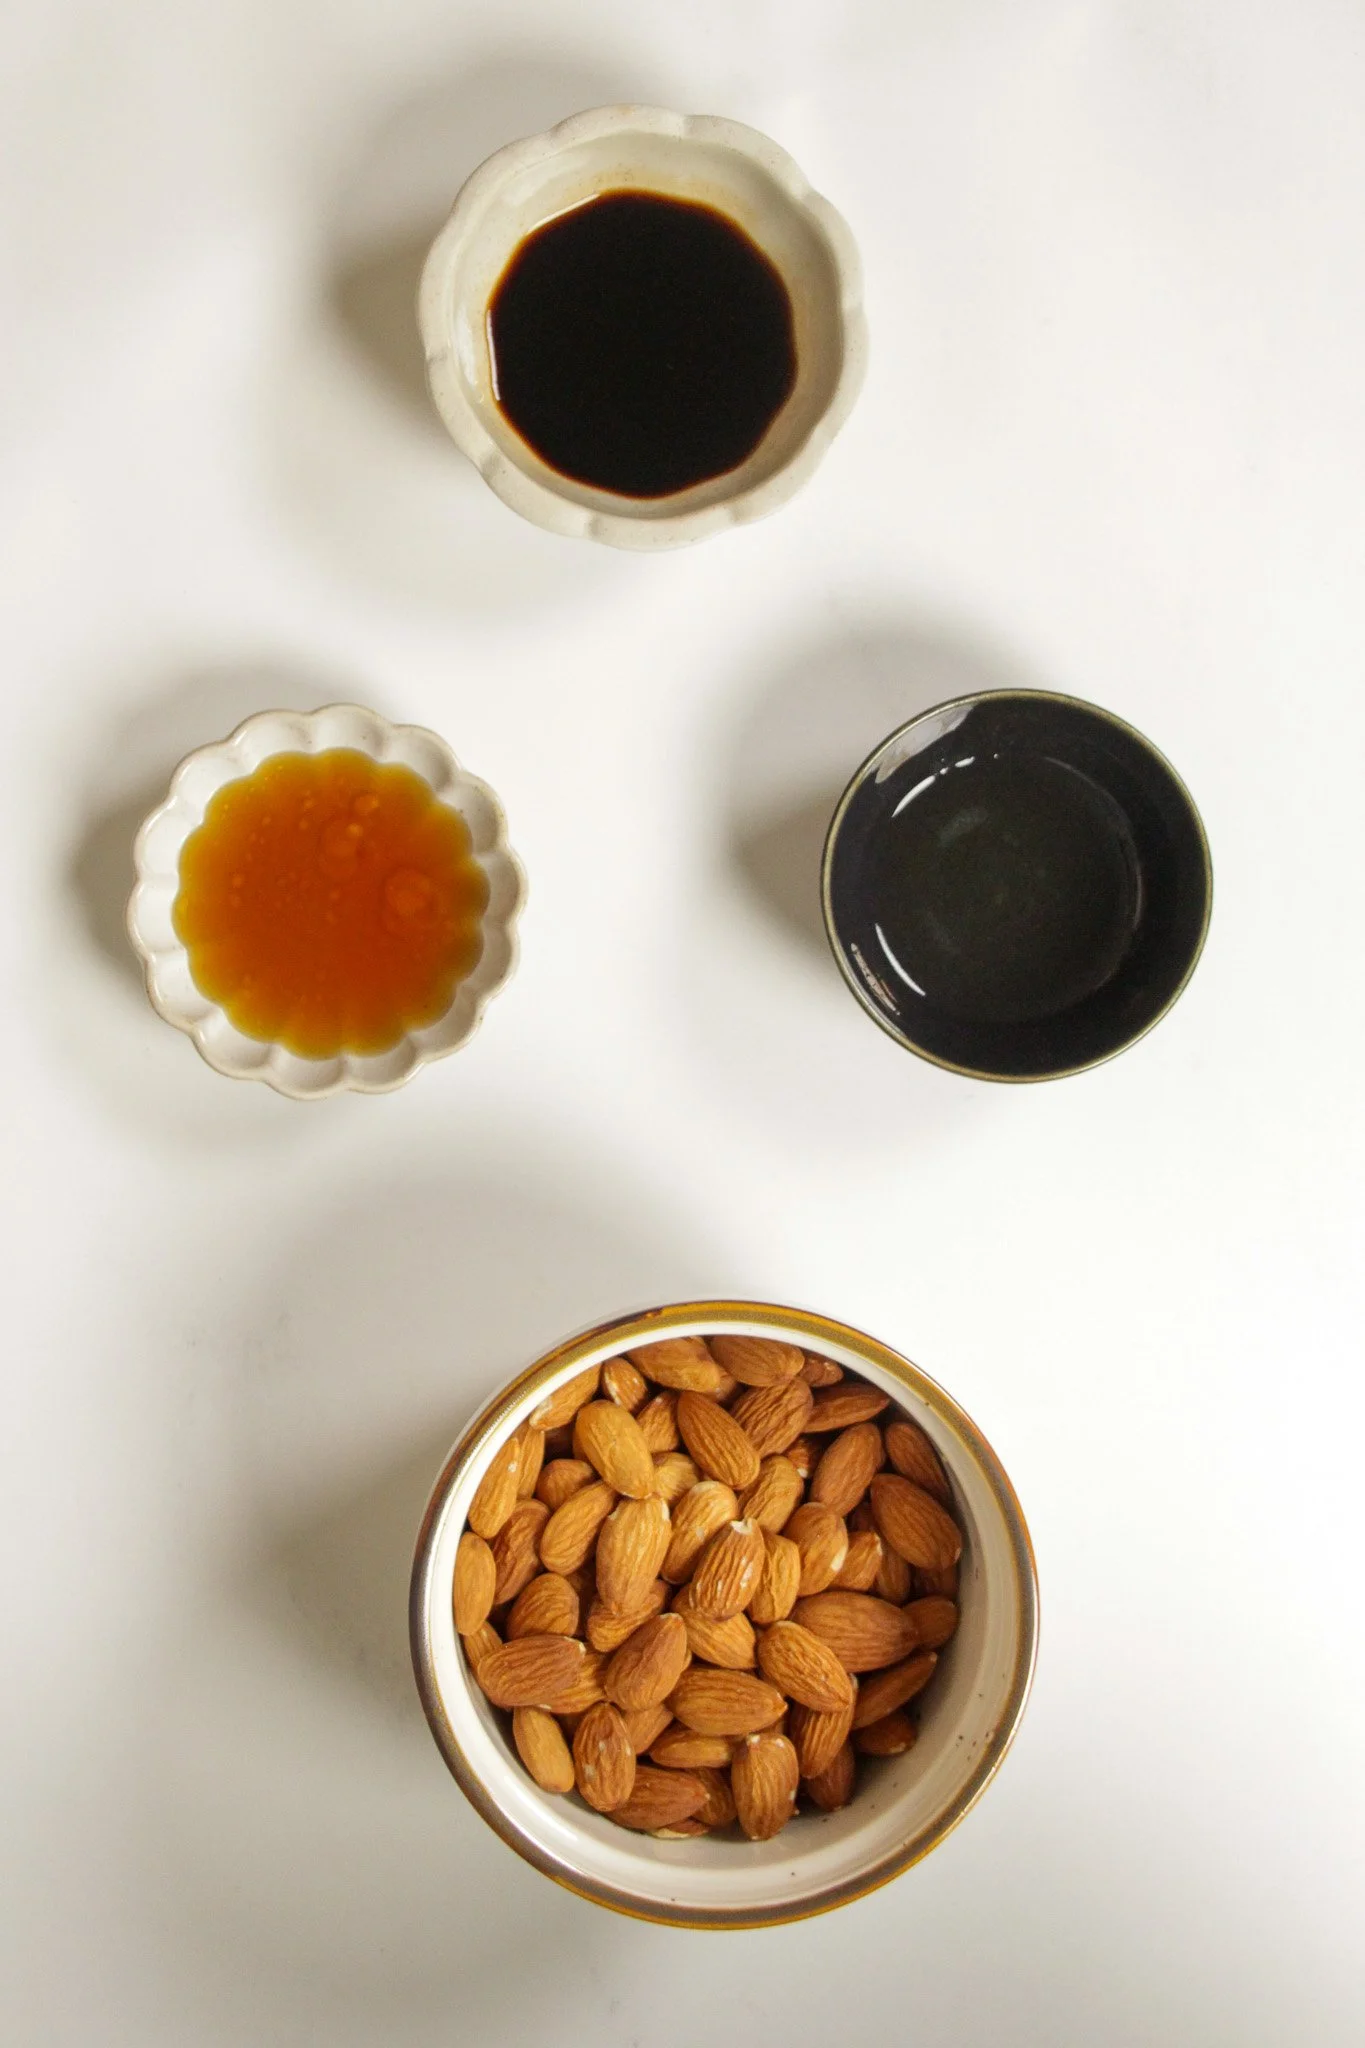
Tamari Maple Almonds
Four ingredients, one pan, twenty minutes. The maple helps the tamari cling and gives a glossy finish without making them sweet. The cooling step is what creates the crunch — they crisp up as they come to room temperature.
Ingredients
2 cups (260g) raw almonds
1 tbsp tamari
1 tsp maple syrup
1 tsp avocado oil
Sesame seeds (optional, add after baking)

Method
Method
Preheat oven to 325°F (165°C). Line a baking tray with parchment.
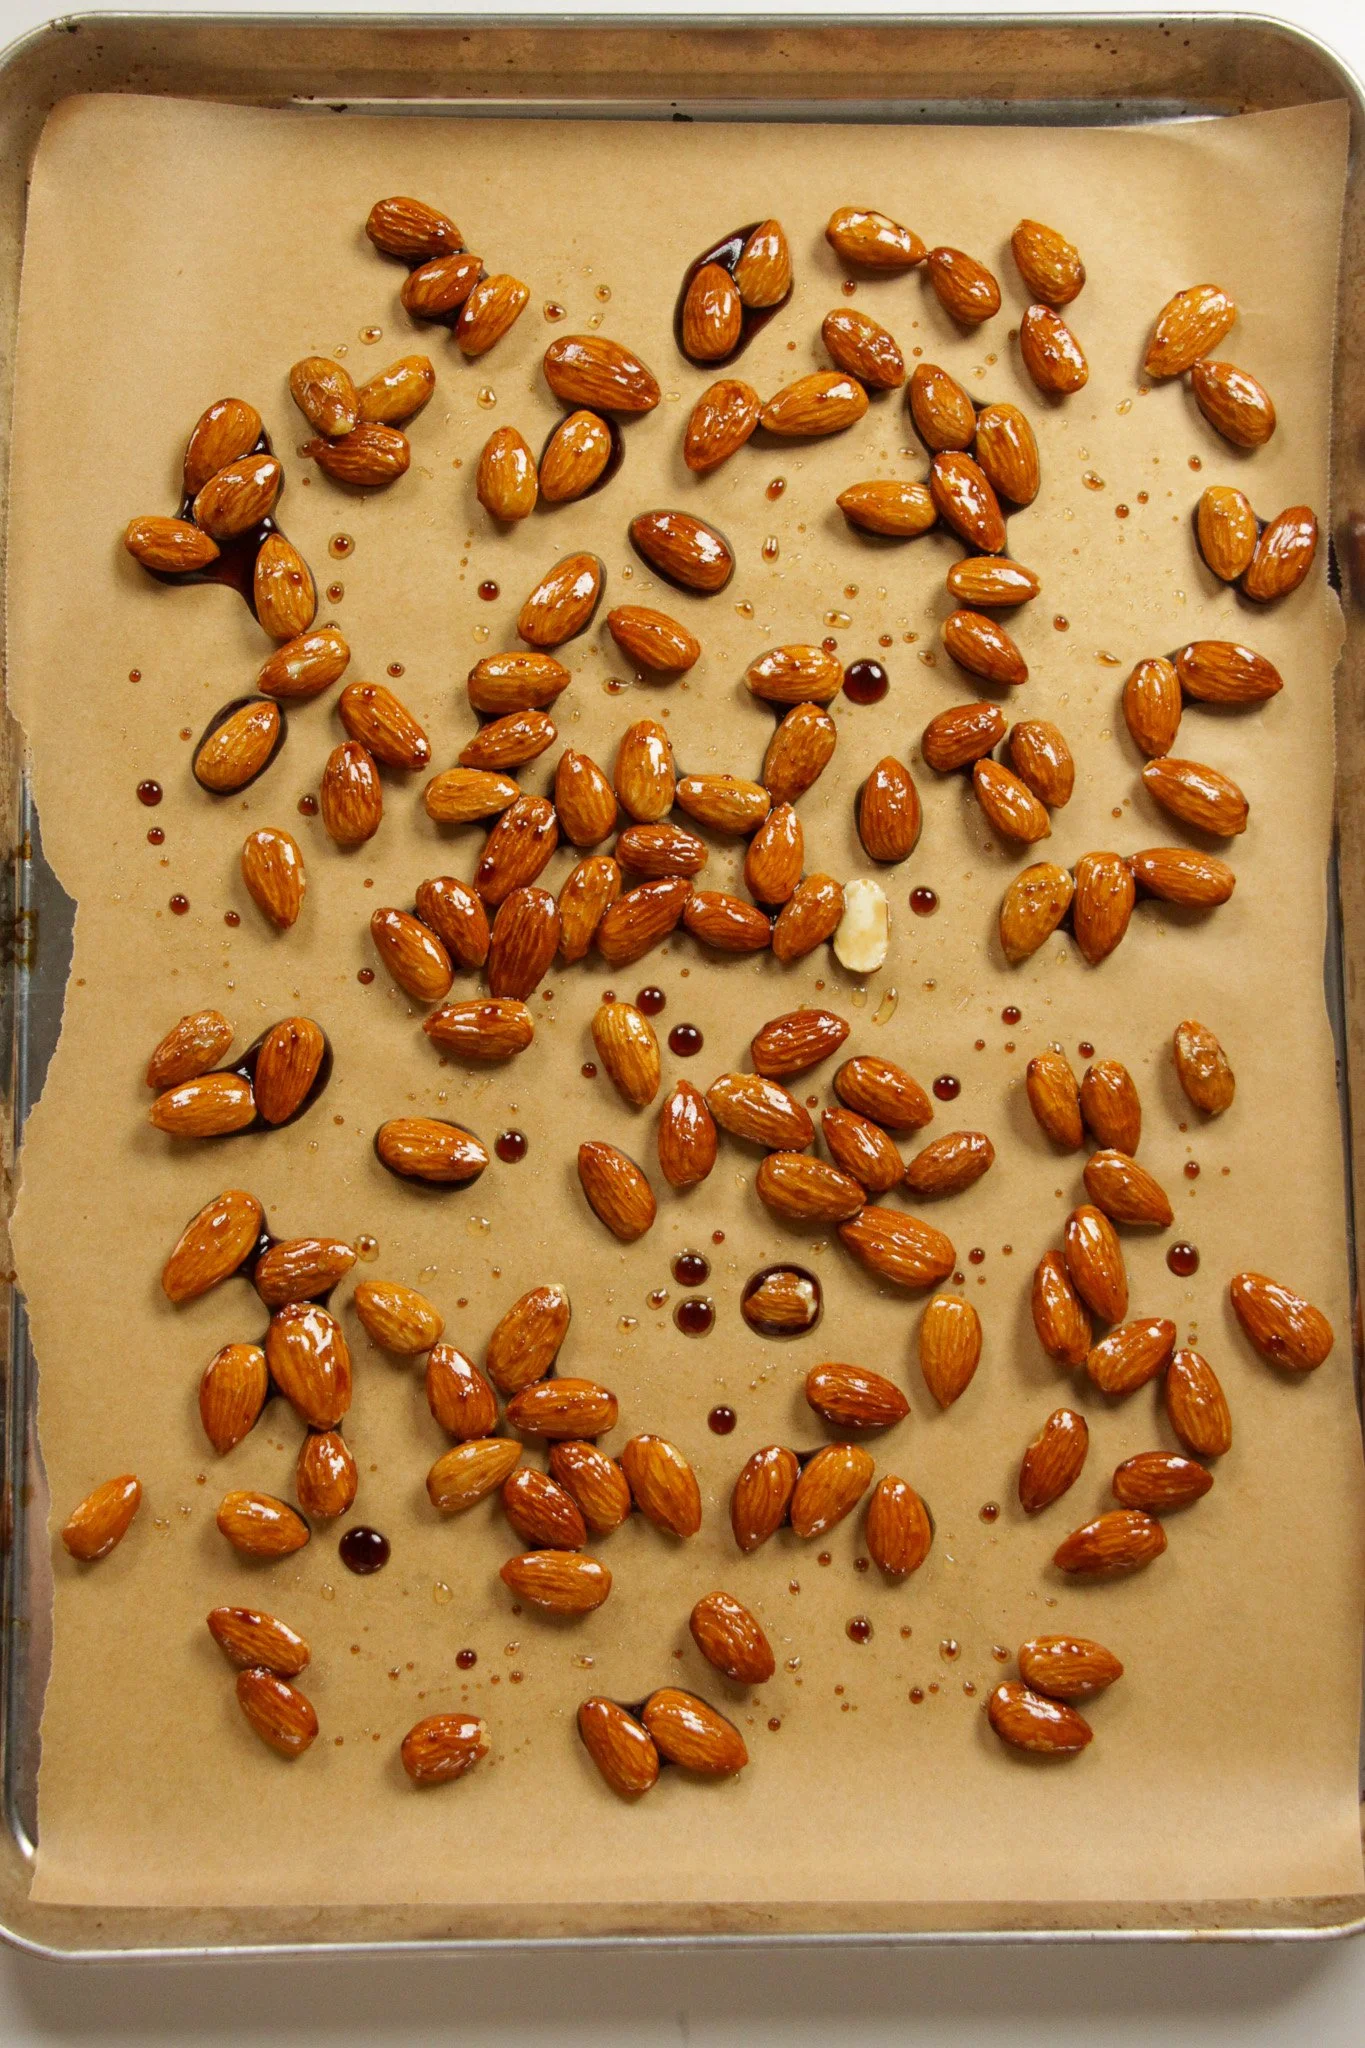
Toss almonds with tamari, maple syrup, and avocado oil until evenly coated.
Spread in a single layer on the lined tray.
Bake 14–18 minutes, stirring halfway through.
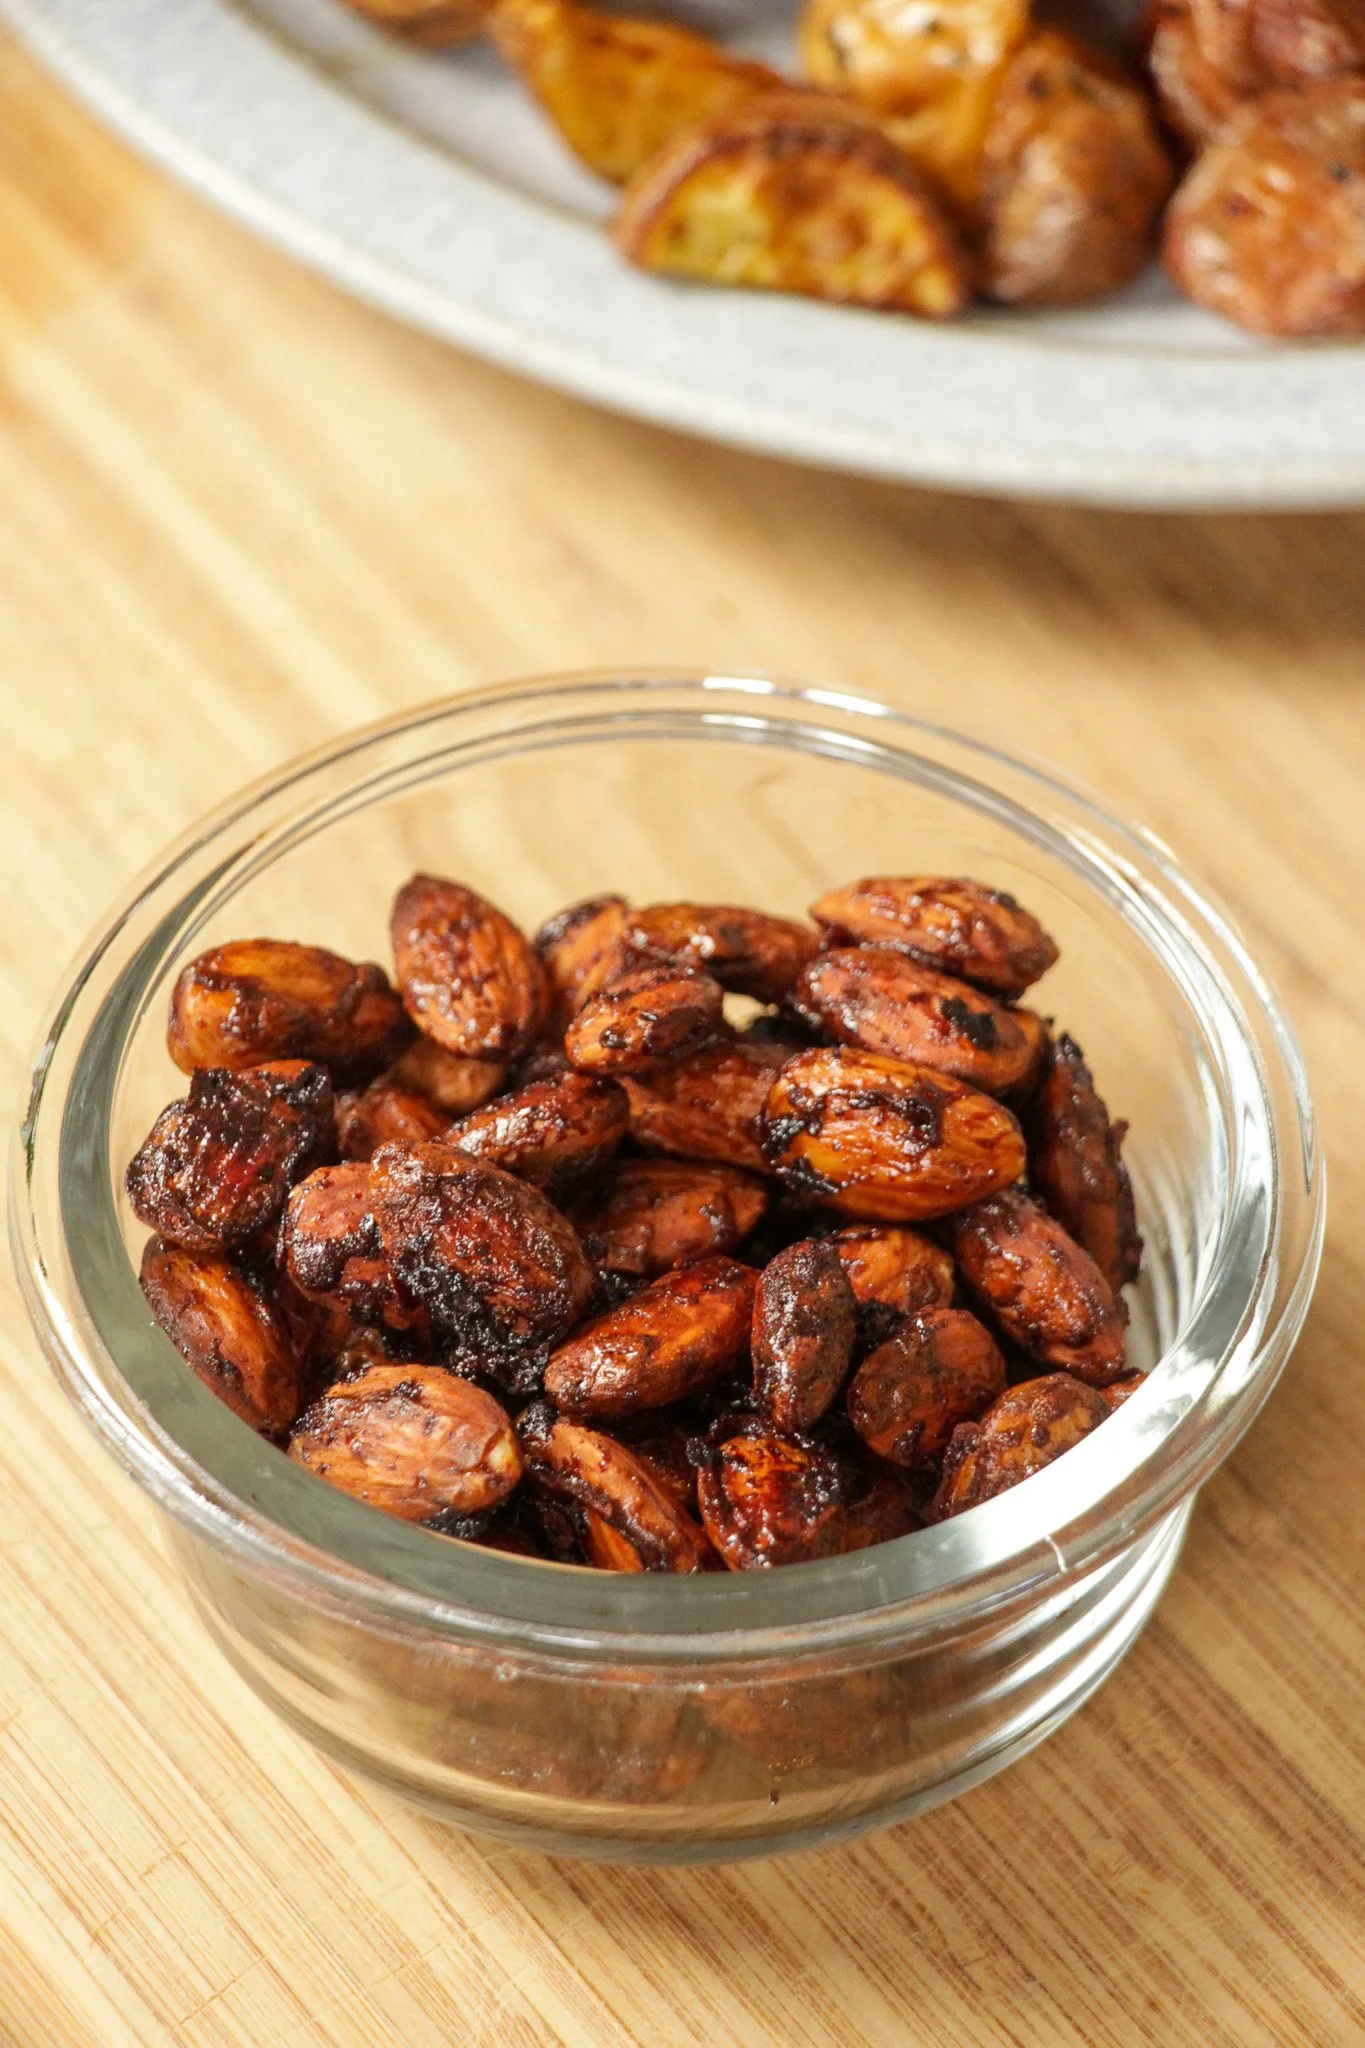
Remove from oven. Add sesame seeds if using. Let cool completely on the tray — do not touch them until they're fully cool.
Tips & Storage
They will not seem crunchy-hot—cooling is the key step. Give them 15–20 minutes.
Store in an airtight container for up to 2 weeks at room temperature.